If you already know which product you want to promote but not which angle will convert, do not start by making one polished ad. Start with a small UGC testing sprint. That is the fastest way to compare hooks, scenes, and scripts without turning the whole process into a full production project. Supra UGC Maker is built for that kind of workflow: pick an avatar, choose a scene, add the product, write the script, and generate variations quickly.
I have seen this work best when the store owner wants evidence, not guesses. You are not trying to make every version identical. You are trying to isolate the message that gets people to stop, watch, and click.
What You Will Learn
- How to build a small UGC test set around one Shopify product.
- Which variables to keep steady so the results are actually useful.
- How to set up the project in Supra UGC Maker without rebuilding every asset.
- How to reuse the winning variation across ads, product pages, email, and retargeting.
Start With One Product And One Decision
The first mistake is trying to solve too many problems in one video. Pick one product and one decision you need to make. For example: which opening line gets the strongest response, or which scene makes the product feel most believable.
That focus matters because a test sprint only works when you know what changed. If the avatar, scene, script, and CTA all change at once, you do not learn much.
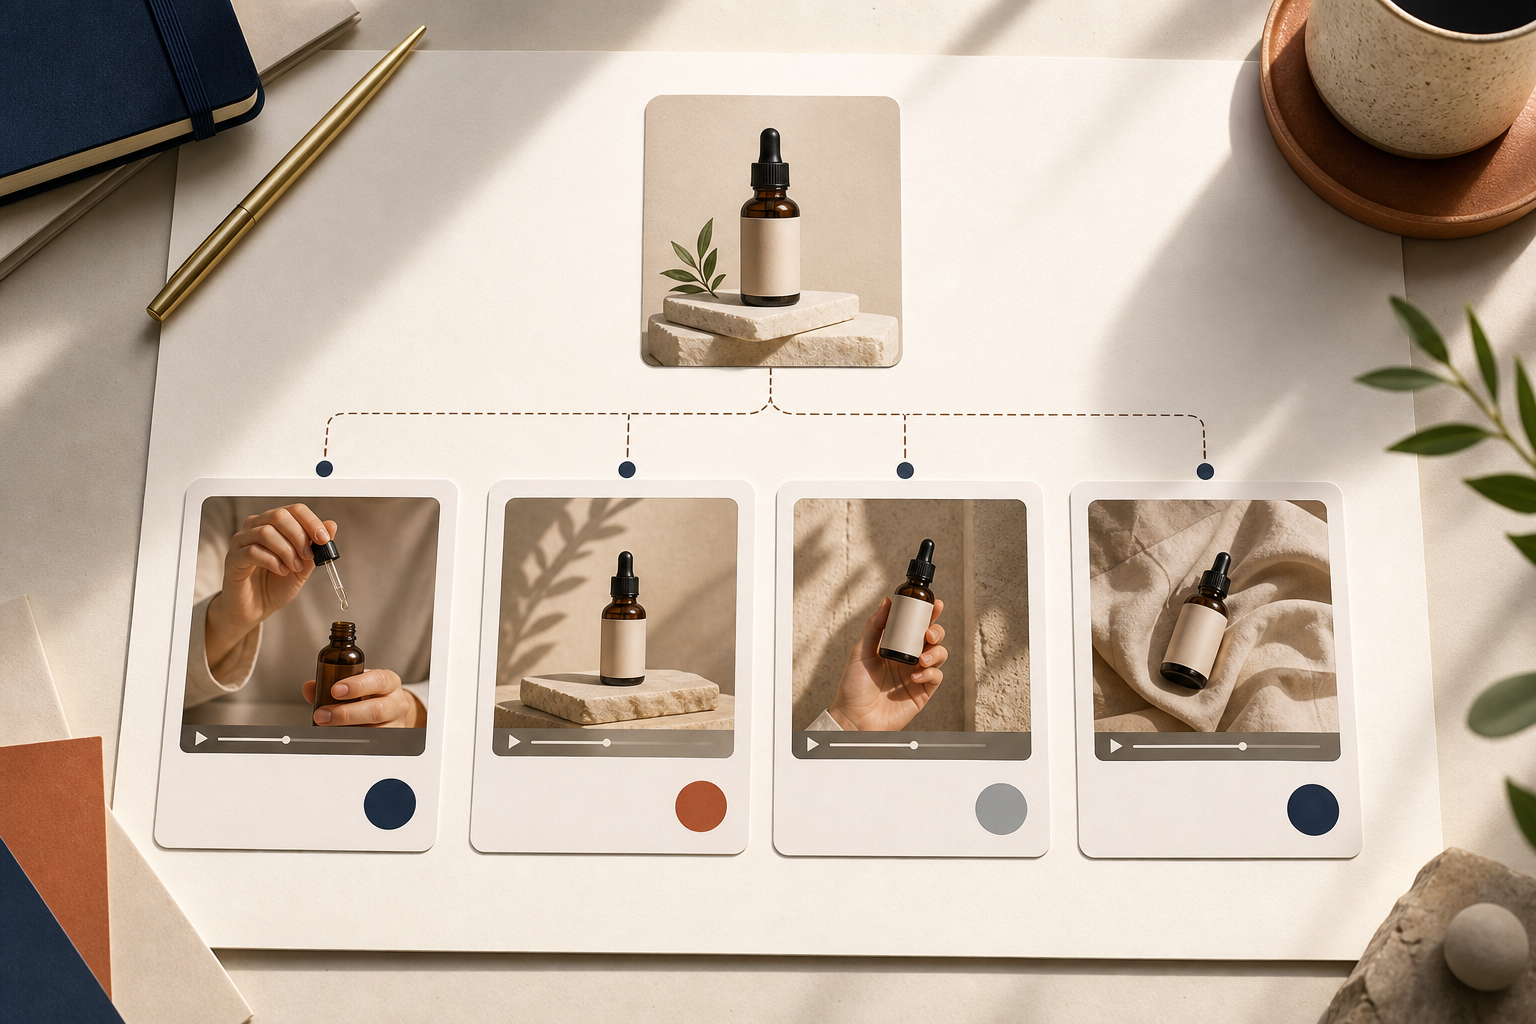
Build A Small Test Set, Not A Giant Content Calendar
You usually do not need twenty clips to learn something useful. Four or five variations is enough if they are designed well.
A practical starting set looks like this:
- Problem and solution.
- Quick demo.
- Objection handler.
- Comparison angle.
- Outcome or use case.
That is the same reason How to Build a Shopify UGC Video Testing Matrix is useful: it keeps you from mixing too many variables into a single experiment.
The point is not to force every angle into a separate production workflow. The point is to give yourself a clear comparison set.
Use One Brief To Control The Variables
If you want the test to tell you anything, your brief has to stay tight. I like to write down four things before I generate the first clip:
- The product.
- The shopper problem or desire.
- The proof point or reason the product is credible.
- The action you want the viewer to take.
That brief can come from a product page, a launch plan, or a list of buyer questions. If you are starting from the product page, How I Turned One Product Page Into Four UGC Video Angles is a good reference for shaping the message before you write the script.
Once the brief is set, keep the product reference constant and vary only the hook, scene, or CTA. That is how you get a comparison you can trust.
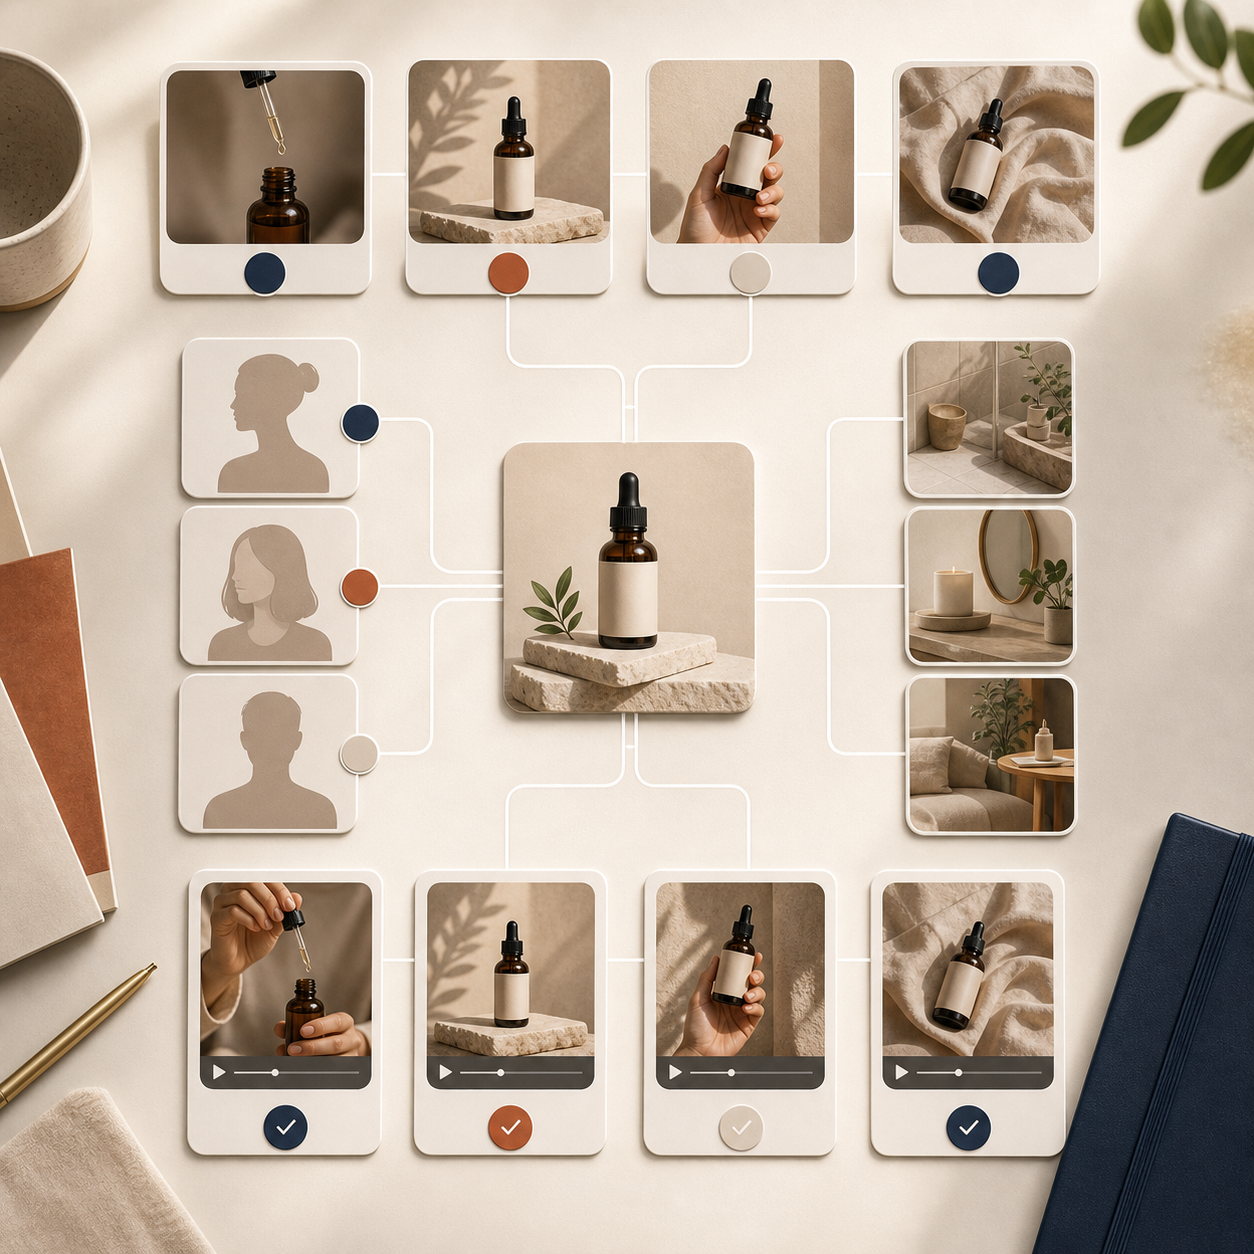
Set Up The Project In Supra UGC Maker
The app workflow is straightforward, which is why it works well for testing.
- Pick an avatar that fits the audience and product category.
- Choose a scene that supports the message instead of distracting from it.
- Add the product reference so the video stays grounded in the real offer.
- Write one short script for each test variation.
- Choose a voice and tone that match the brand.
- Generate, preview, trim, reorder, and regenerate clips until the pacing feels right.
The useful part is that you can keep the setup reusable. Once you find a combination that works, you do not have to rebuild the whole project from scratch to make a second round of ads.
If your test is tied to a launch, How I Build a Shopify UGC Launch Kit From One Brief shows how to turn one input into a larger campaign without losing the original strategy.

Read The Results In A Way You Can Actually Use
The winning clip is not always the one with the flashiest opening. Sometimes the best result is the version that answers the buyer's hesitation most directly. Sometimes it is the one with the cleanest demo. Sometimes it is the one that feels the most natural for retargeting.
When you review the test, compare the clips on the metric that matches the placement:
- Paid ads: which hook holds attention and earns the click.
- Product pages: which clip explains the product best.
- Email: which version creates curiosity fast.
- Retargeting: which angle handles hesitation without sounding pushy.
If you want a deeper framework for what to compare, How I Turn Buyer Questions Into Shopify UGC Video Variants is the next article I would read.
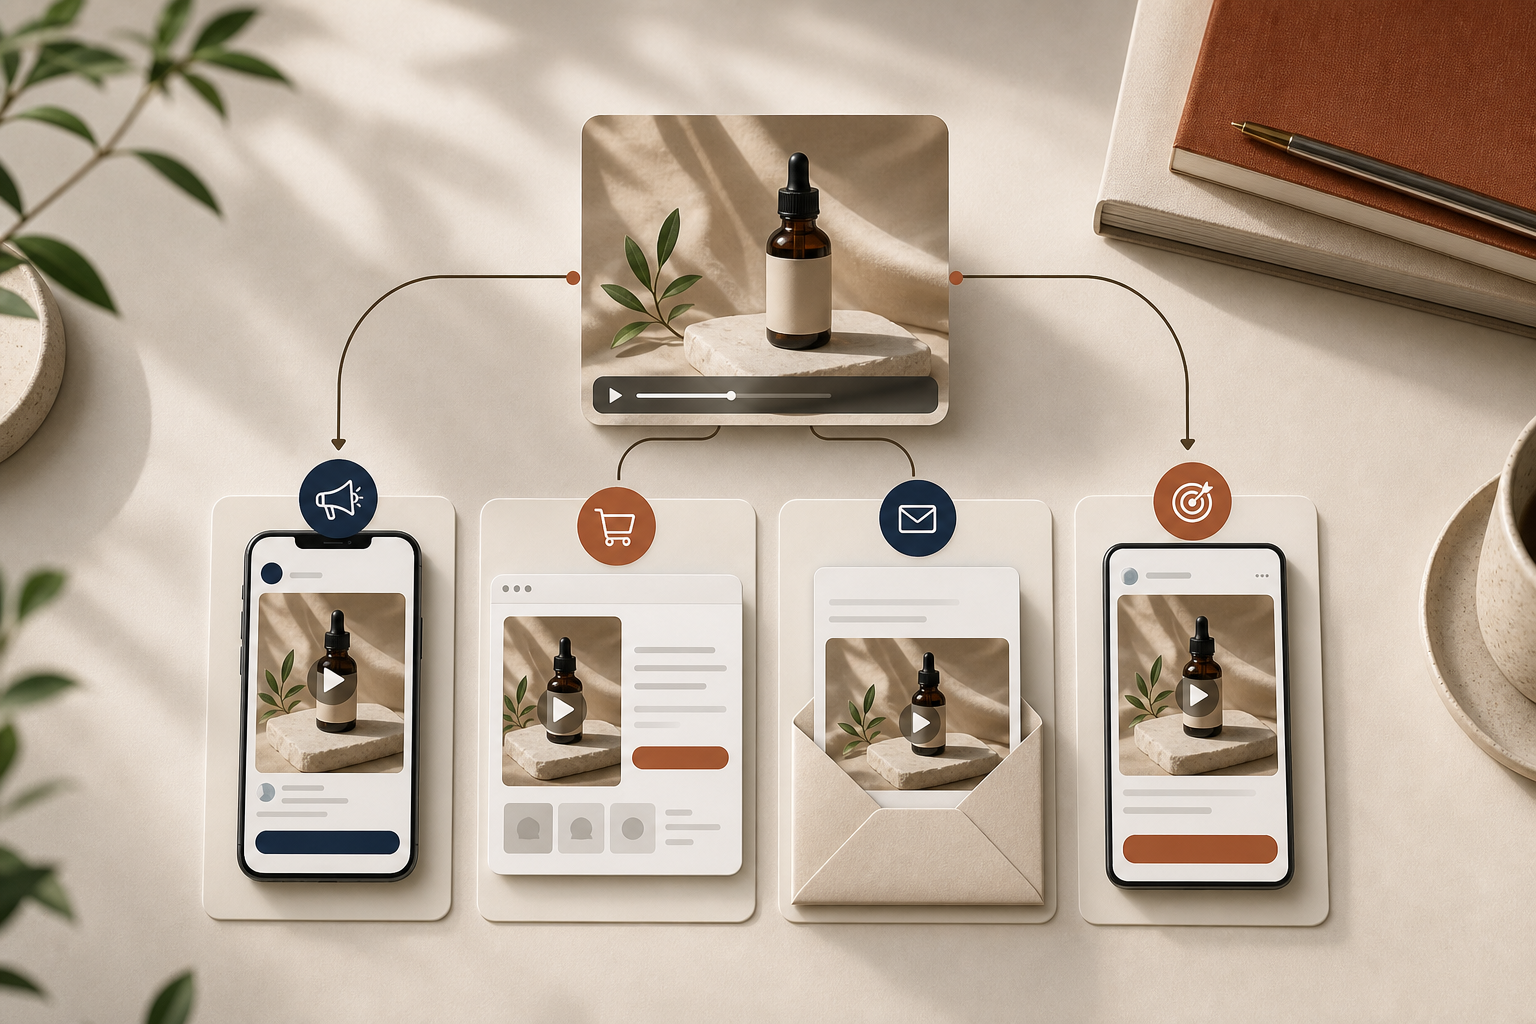
Reuse The Winner Across The Funnel
A good UGC clip should not live in one place only. Once you find the strongest angle, reuse it where the shopper is already looking for a nudge.
- Ads: lead with the hook that got the clearest response.
- Product page: use the calmer, more explanatory version.
- Email: use the short teaser or benefit-first cut.
- Retargeting: use the objection-handling angle for people who already visited.

That is the real value of a testing sprint. It is not just to find one winner. It is to create a reusable setup you can keep improving.
The Short Version
Do not start with a giant content plan. Start with one product, a tight brief, and a few UGC variations that test a single question at a time. Keep the variables controlled, review the results against the right placement, and then reuse the winning setup across the funnel.
If you want to build that workflow faster, start with Supra UGC Maker or install it from the Shopify App Store. The free plan is enough to run the first sprint and decide which angle is worth scaling next.
Comments
Post a Comment