The Power of Integration: Notion and Webflow
In today's fast-paced digital landscape, integrating powerful tools to streamline workflows is more important than ever. A prime example is the synergy between Notion, a versatile note-taking app, and Webflow, a web design and development platform. This article will guide you on how to write your blog posts in Notion and publish them seamlessly to Webflow using SyncFlow, the ultimate synchronization tool.
Why Choose Notion for Writing?
Notion is revered not only for its robust note-taking capabilities but also its detailed organizational features. Content creators and bloggers often prefer Notion for its:
- Ease of Use: With a clean and intuitive interface, writing in Notion feels natural, almost like jotting down notes in a digital notebook.
- Organizational Prowess: Categorize your content with databases, tables, and tags, keeping everything well-organized.
- Collaborative Features: Share your drafts with colleagues or friends, allowing them to comment and make edits in real-time.
Webflow for Designers
Webflow complements Notion by offering a sophisticated platform for designing and launching professional websites. Key benefits include:
- Visual Designer: Design visually without writing code, but with control over every style detail.
- Responsive Design: Ensure your content looks great on any device with Webflow's responsive features.
- CMS Capabilities: Manage dynamic content with powerful collection features tailored for custom blogs.
Introducing SyncFlow: The Key to Seamless Publishing
SyncFlow bridges Notion and Webflow by automatically syncing your Notion content directly to Webflow CMS collections. Here’s why SyncFlow is a game changer:
- Auto-Sync: Whenever you update your Notion page, changes are automatically reflected in your Webflow CMS.
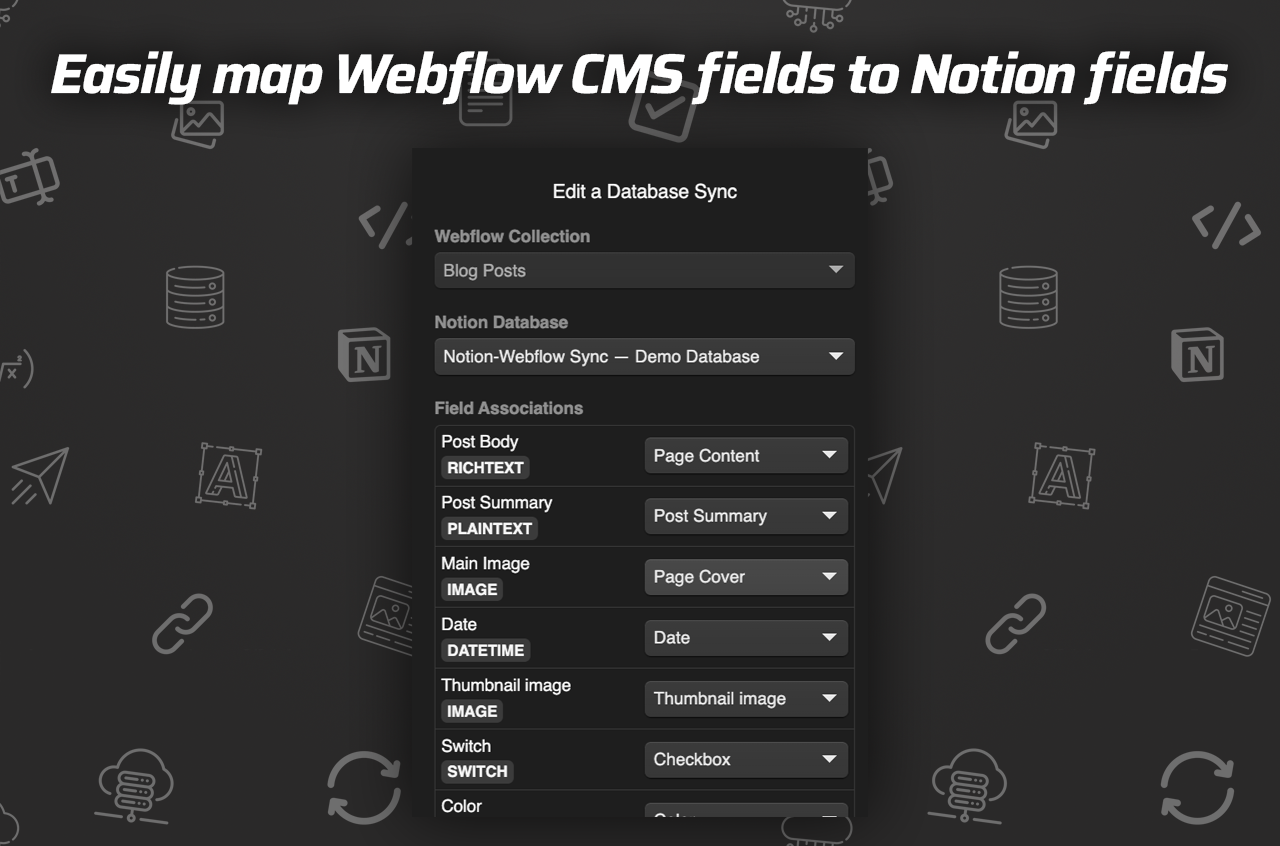
- Versatile Field Mapping: Sync a variety of field types including text, images, and more.
- Full Customization: Import Notion elements with inline styling or classes for more customization freedom on your Webflow site.
How to Write and Publish with SyncFlow
Step 1: Getting Started with SyncFlow
Visit SyncFlow's website and decide on a plan that suits your needs. Follow these steps:
- Install: Connect your Webflow and Notion accounts to the SyncFlow app.
- Map Fields: Map fields from your Webflow CMS Collection with your Notion Database.
- Sync: Choose between auto-sync or manual sync for complete control over your content.
Step 2: Connect and Configure
- Connect to Webflow: Launch SyncFlow in the Webflow designer.
- Connect to Notion: Select the specific Notion page or folder you want to sync with.
- Create a Sync Task: Define your Webflow collection and map with the Notion database.
Step 3: Style and Publish
- Choose Styling Options: Opt for 'Inline Styles' to replicate Notion’s look or 'Use Classes' for Webflow customization.
- Verify Sync: Add new content in Notion and verify its sync status in your Webflow CMS collection.
- Auto-Publish: With settings configured, enjoy real-time updating of your Webflow site.
Benefits of Using SyncFlow
- Real-time Content Management: Experience instant updates and maintain an active website without hassle.
- Increased Productivity: Spend less time on uploading and more time on content creation.
- SEO-Friendly: With structured content, leverage Webflow’s built-in SEO tools effectively.
Conclusion
Leveraging the combined power of Notion, Webflow, and SyncFlow, you can transform the way you manage content, ensuring efficiency and productivity. Enhance your blog management process today by visiting SyncFlow and diving into a seamless article publishing experience.
For a visual guide, check out this video tutorial to see how easily you can sync Notion with Webflow.
Optimize your workflow, save time, and focus on what matters most: creating compelling content that resonates with your audience.
Comments
Post a Comment