Why lifestyle product photos skyrocket conversions
High-conversion product pages do more than show an item; they help shoppers imagine ownership. Lifestyle photos place your product in a real-world context, communicating size, use, quality, and emotion at a glance. The result: more clicks on Add to cart, higher average order value, and fewer returns.
The best part? You no longer need a studio crew or expensive photoshoots. With AI assistants like Supra AI Photo Studio, you can transform plain images into scroll-stopping, on-brand visuals in minutes — directly within your store’s workflow.
- Install on the app store: Supra AI Photo Studio on Shopify
- Explore features and pricing: Supra AI Photo Studio landing page
What makes a lifestyle product photo convert
- Clarity first: The product remains hero. Backgrounds support, not distract.
- Realistic context: Environments that match how customers will actually use the item.
- Consistency: Repeated angles, lighting, and color across the catalog build trust.
- Emotion: Warm light, human touch, and movement cues make items feel alive.
- Speed: Images that load fast on mobile keep shoppers engaged.
A repeatable AI workflow you can use today
Below is a practical, 7-step process to go from basic photos to high-converting lifestyle imagery using Supra AI Photo Studio.
1) Start with a clean base
- Use Background Remover to isolate the product and eliminate distractions.
- Run Auto Enhance to balance exposure, fix color casts, and sharpen edges.
- Upscale if needed to restore crisp details from soft or small originals.
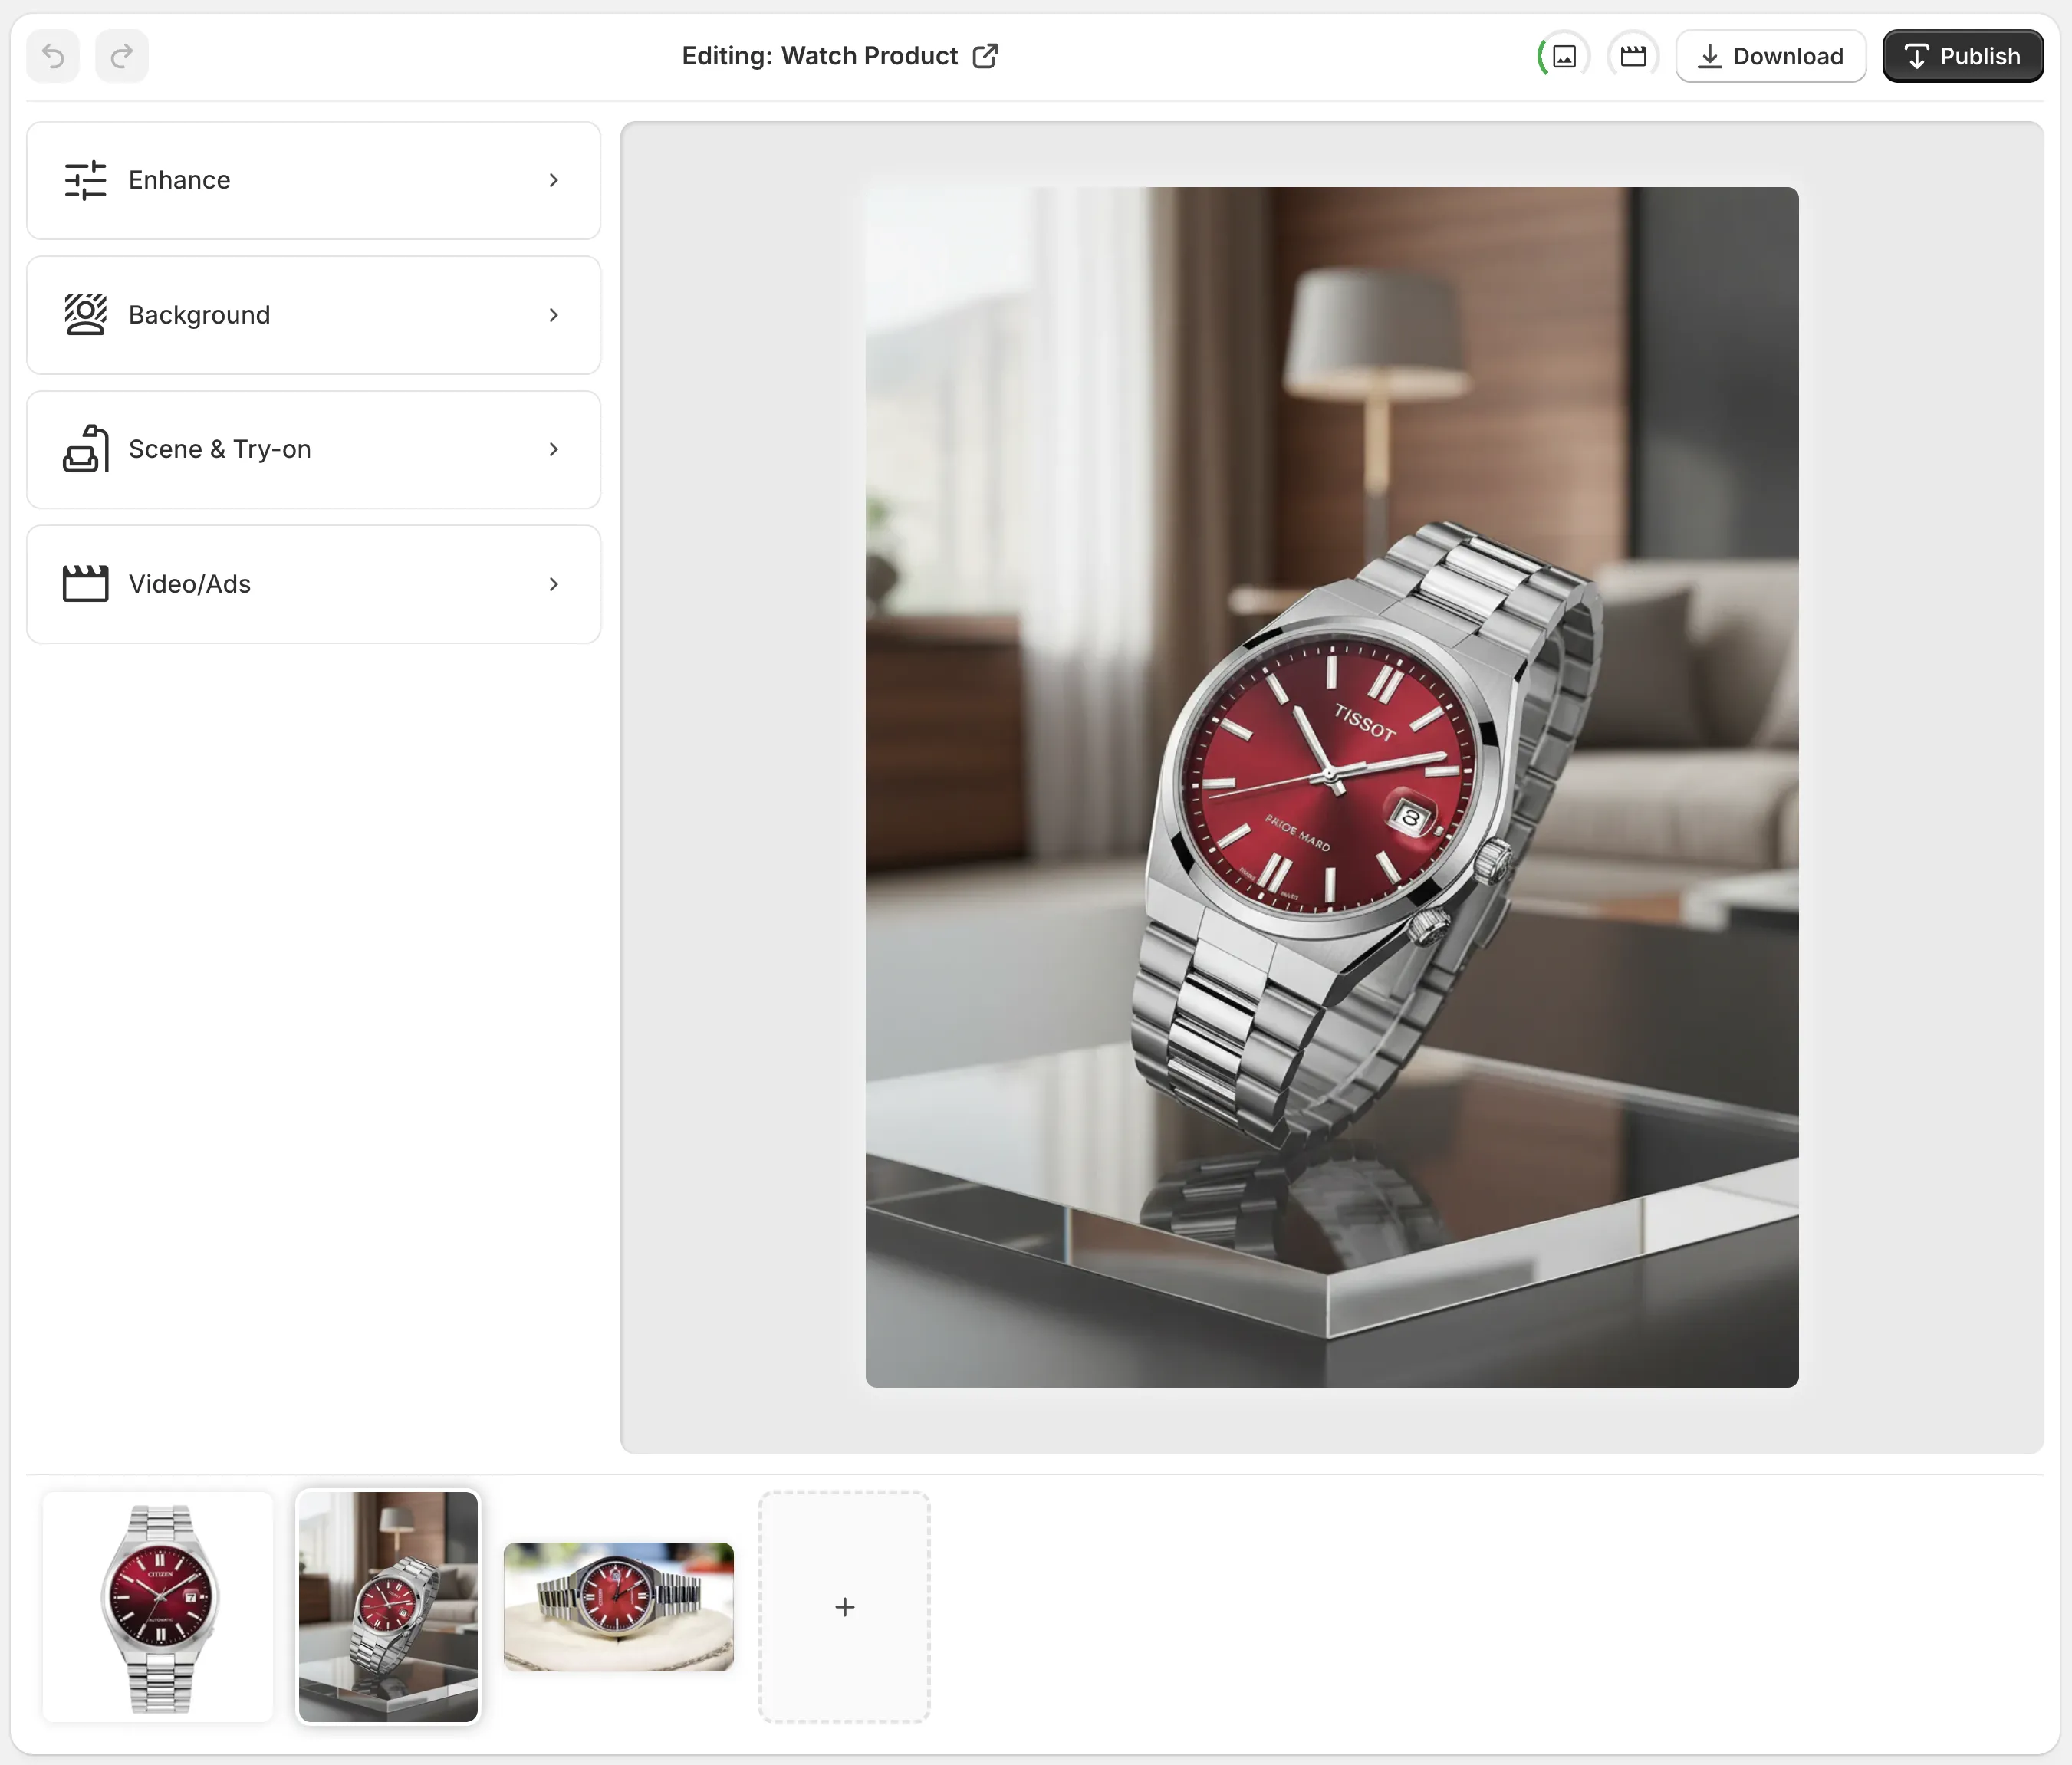
2) Build lifestyle scenes in minutes
- With Object Placement, drop the item into curated environments: studio, boutique, kitchen, office, outdoors, and more.
- Choose surface type, camera angle, and lighting style to match your brand.
- Generate several options, then keep the ones that feel both aspirational and believable.

3) Put apparel on realistic models that fit your audience
- Use AI Try-On to place clothing, accessories, or jewelry on lifelike models.
- Adjust pose, skin tone, hair, and body type to reflect your customers.
- Keep product accuracy sacred: textures, patterns, and logos should remain true.

4) Generate short-form assets for PDP and ads
- Create UGC-style clips for social: choose a voice, vibe, and setting to transform static shots into influencer-like videos.
- Produce cinematic B-roll: top-down spins, dust or liquid splashes, and slow-motion reveals that preserve product detail.
- Use these as PDP galleries, homepage loops, or paid creatives.
5) Keep catalog-wide consistency
- Save your favorite lighting, backdrop, and angle presets to reuse across SKUs.
- Align colors with your brand palette so grids and collections look cohesive.
6) Publish faster, right where you work
- Edit, version, and publish directly to your product image gallery without leaving your store admin.
7) Measure, learn, and optimize
- A/B test hero images, angles, and backgrounds on high-traffic products.
- Track add-to-cart, conversion rate, and bounce metrics to pick winners.
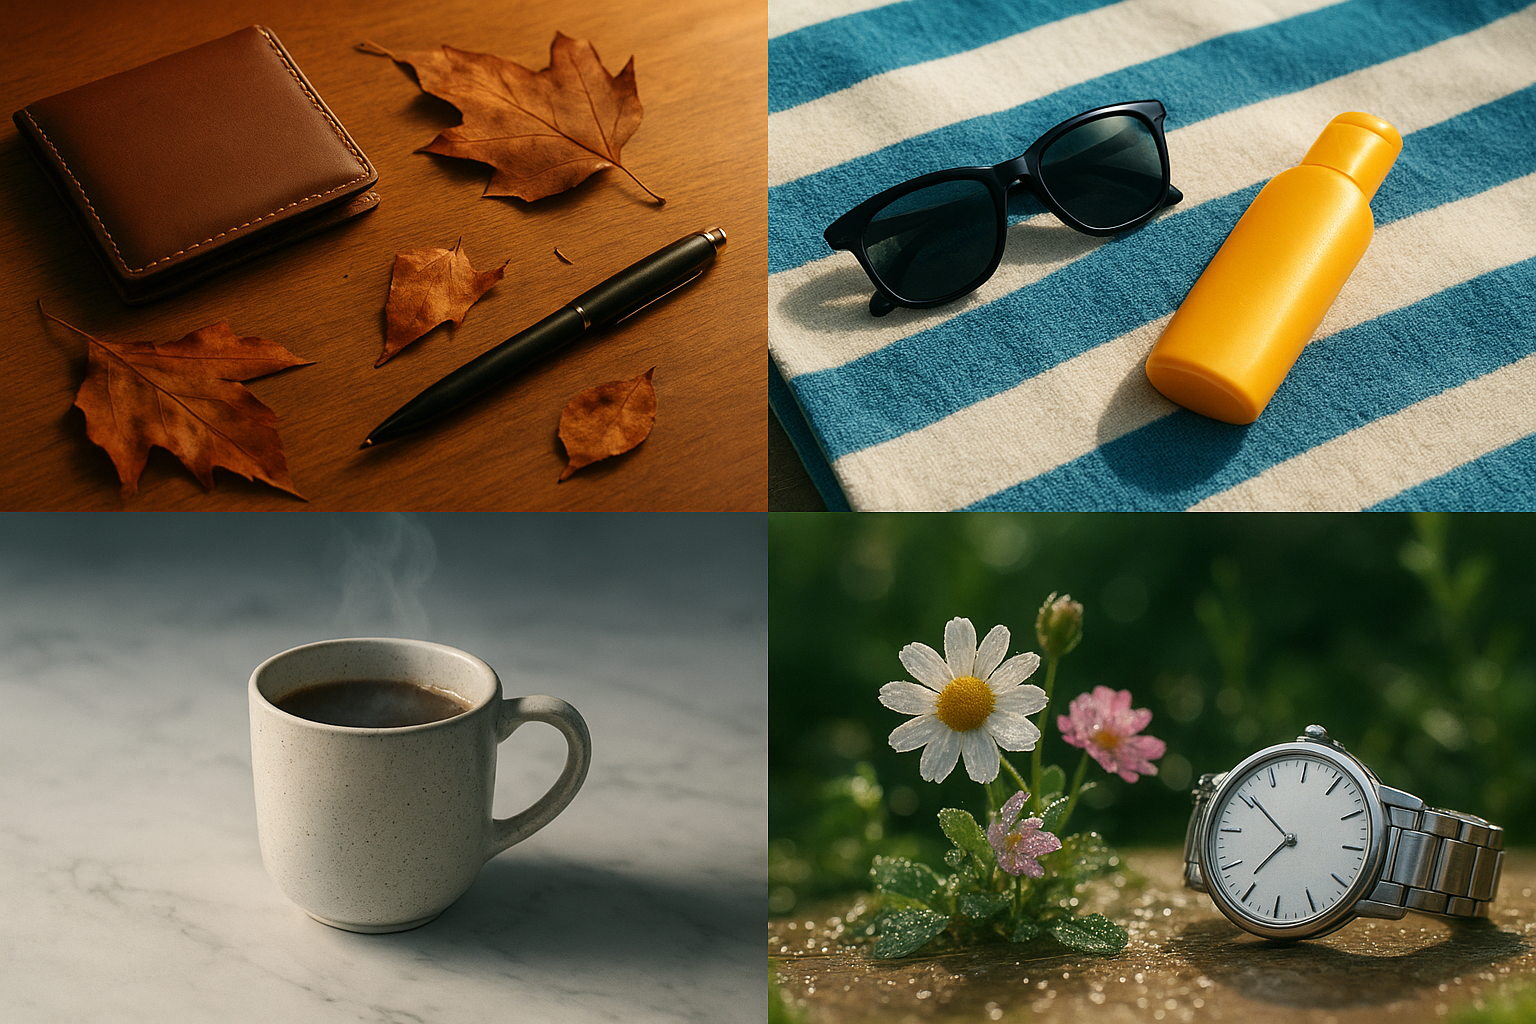
Scene ideas by niche
- Fashion and accessories: Minimal studio with soft edge light; cafe tables; city crosswalks at golden hour; close-up macro on stitching and hardware.
- Beauty and skincare: Marble vanities, mirror reflections with soft haze, water droplets and towels for freshness.
- Home and kitchen: Sunlit counters, wooden shelves, morning light through blinds; top-down flat-lays showing scale.
- Electronics and gadgets: Clean desk setups, neon edge lights for a futuristic vibe, cable management and hand interactions.
- Outdoor and fitness: Trail textures, gym floors, chalk dust in air, water-splash energy.
Pro tip: Start aspirational, then dial realism. Slight imperfection in props or textures often boosts believability and trust.
Technical checklist for SEO and speed
- Dimensions: Use square 2048 × 2048 px (or larger if you need zoom). Keep aspect ratios consistent across variants.
- Format: JPG or WebP for photography; PNG only if you truly need transparency.
- Compression: Aim for the smallest file size that still looks crisp on mobile.
- Color: Export in sRGB so colors match across devices.
- Filenames: Use descriptive names with keywords, e.g., leather-tote-bag-brown-lifestyle.jpg.
- Alt text: Write human-first, keyword-rich descriptions under 125 characters. Example: Brown leather tote on cafe table with latte art.
- Cropping: Keep the product centered or aligned to a rule-of-thirds power point; avoid tight crops that cut edges.
Common mistakes to avoid
- Over-stylizing so the product looks fake or miscolored.
- Cluttered scenes that compete with the hero item.
- Inconsistent angles across a collection making comparison hard.
- Forgetting mobile-first framing; what looks great widescreen can crop poorly in a square thumbnail.
- Skipping alt text and compression, hurting both SEO and page speed.
Why use Supra AI Photo Studio for lifestyle photos
- All-in-one: Background removal, upscaling, auto-enhance, try-on, object placement, UGC videos, and cinematic B-roll.
- Product fidelity: Details like stitching, textures, and patterns are preserved.
- Speed: Generate multiple on-brand looks in minutes instead of scheduling shoots.
- Ownership: You own the images and videos you generate.
- No design skills required: Simple, intuitive editor.
Explore plans and start free:
- Free plan: Try core features at no cost.
- Standard to Agency: Scales from small shops to high-volume catalogs.
Get started here:
- Install the app: Supra AI Photo Studio on Shopify
- Learn more and watch the trailer: Supra AI Photo Studio — features and pricing — or watch the quick demo: https://www.youtube.com/watch?v=M2ISy20la78
A 20-minute workflow you can copy
- Minutes 1–5: Upload base images, isolate product, and auto-enhance.
- Minutes 6–10: Generate 3–5 lifestyle scenes via Object Placement.
- Minutes 11–15: For apparel, run Try-On with 2–3 model options and pick the most brand-aligned.
- Minutes 16–18: Create one short UGC-style video or a simple B-roll clip for the PDP.
- Minutes 19–20: Compress, write alt text, publish, and queue an A/B test on the hero image.
With a consistent process and the right AI tools, your store can move from generic thumbnails to high-converting lifestyle content in a single afternoon. Start with one product, systemize what works, and roll it out across your entire catalog.
Comments
Post a Comment