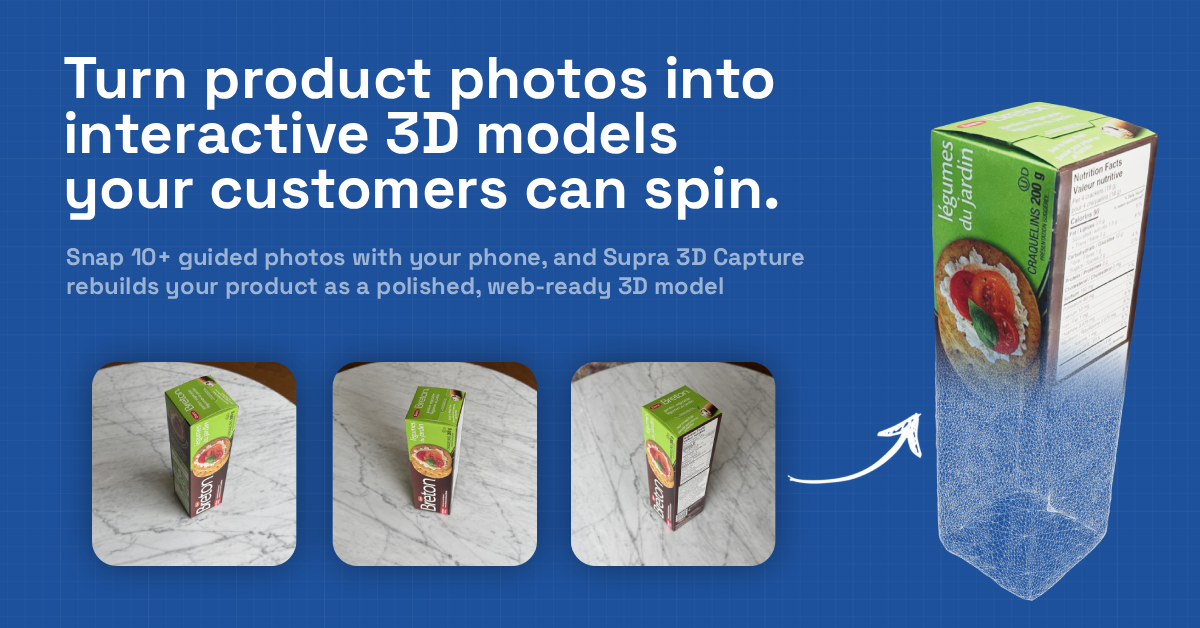
I use a shot list when I want to turn a Shopify product into 3D without wasting time on the wrong SKU.
The goal is not to make every item interactive. The goal is to choose the products that benefit from 3D, capture enough clean phone photos to build a useful model, and then place that model on the product page where it helps shoppers understand shape, scale, and detail.
Supra 3D Capture is built for that workflow. It guides the phone capture, processes the photos into a web-ready GLB, and publishes the result into Shopify. If you want the app listing, the Shopify App Store page is the other link I keep handy.
Quick Answer
A good 3D capture shot list should do three jobs:
- confirm the product is worth 3D capture,
- collect a full orbit of consistent photos,
- and catch the surfaces that usually break scans before you waste a processing run.
If a product is small, physical, and shape-driven, 3D can help shoppers understand what they are buying. If it is flat, soft, or visually noisy, the same effort may not pay off. I covered that selection step in how to decide which Shopify products deserve 3D models first.
Start With The Right Product
Before you shoot anything, ask one question: will a 3D model answer something flat photos cannot?
That usually means the customer cares about one of these:
- the shape,
- the depth,
- the proportions,
- the finish,
- or how the object looks from multiple angles.
That is why 3D capture tends to work best for products like home goods, decor, packaged goods, accessories, collectibles, and other items where form matters as much as color. It is also why I would start with one or two clean, easy products before moving on to shiny, clear, or fuzzy surfaces.
If you want a practical pre-flight filter, how to tell if a Shopify product will scan cleanly in 3D is the best companion read.
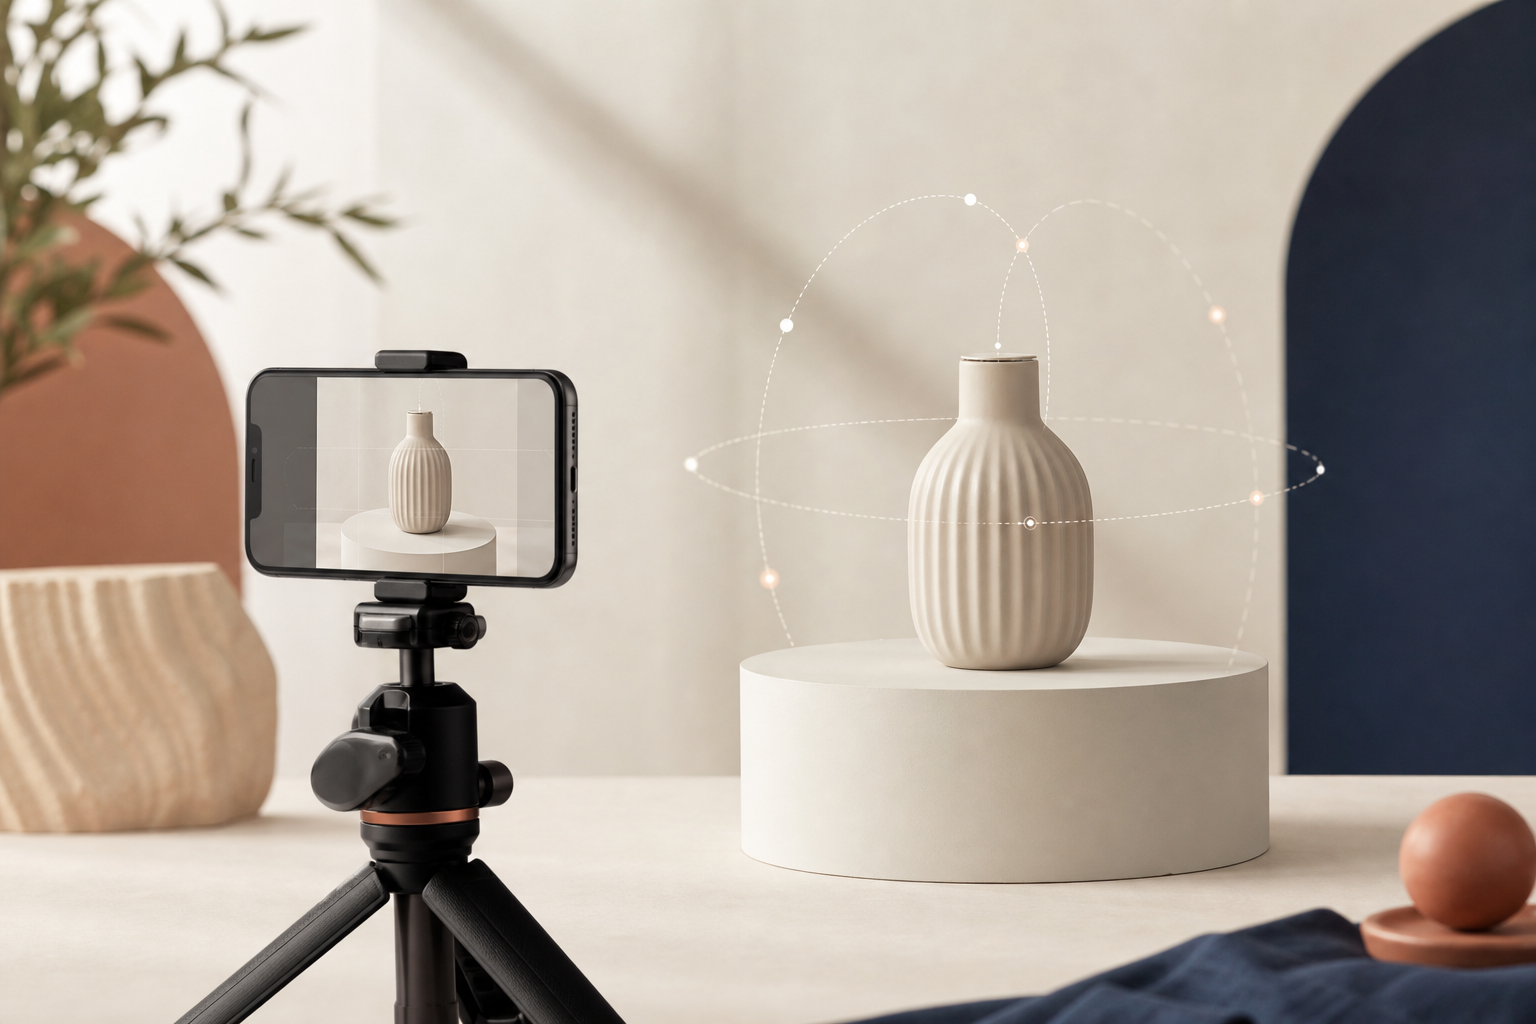
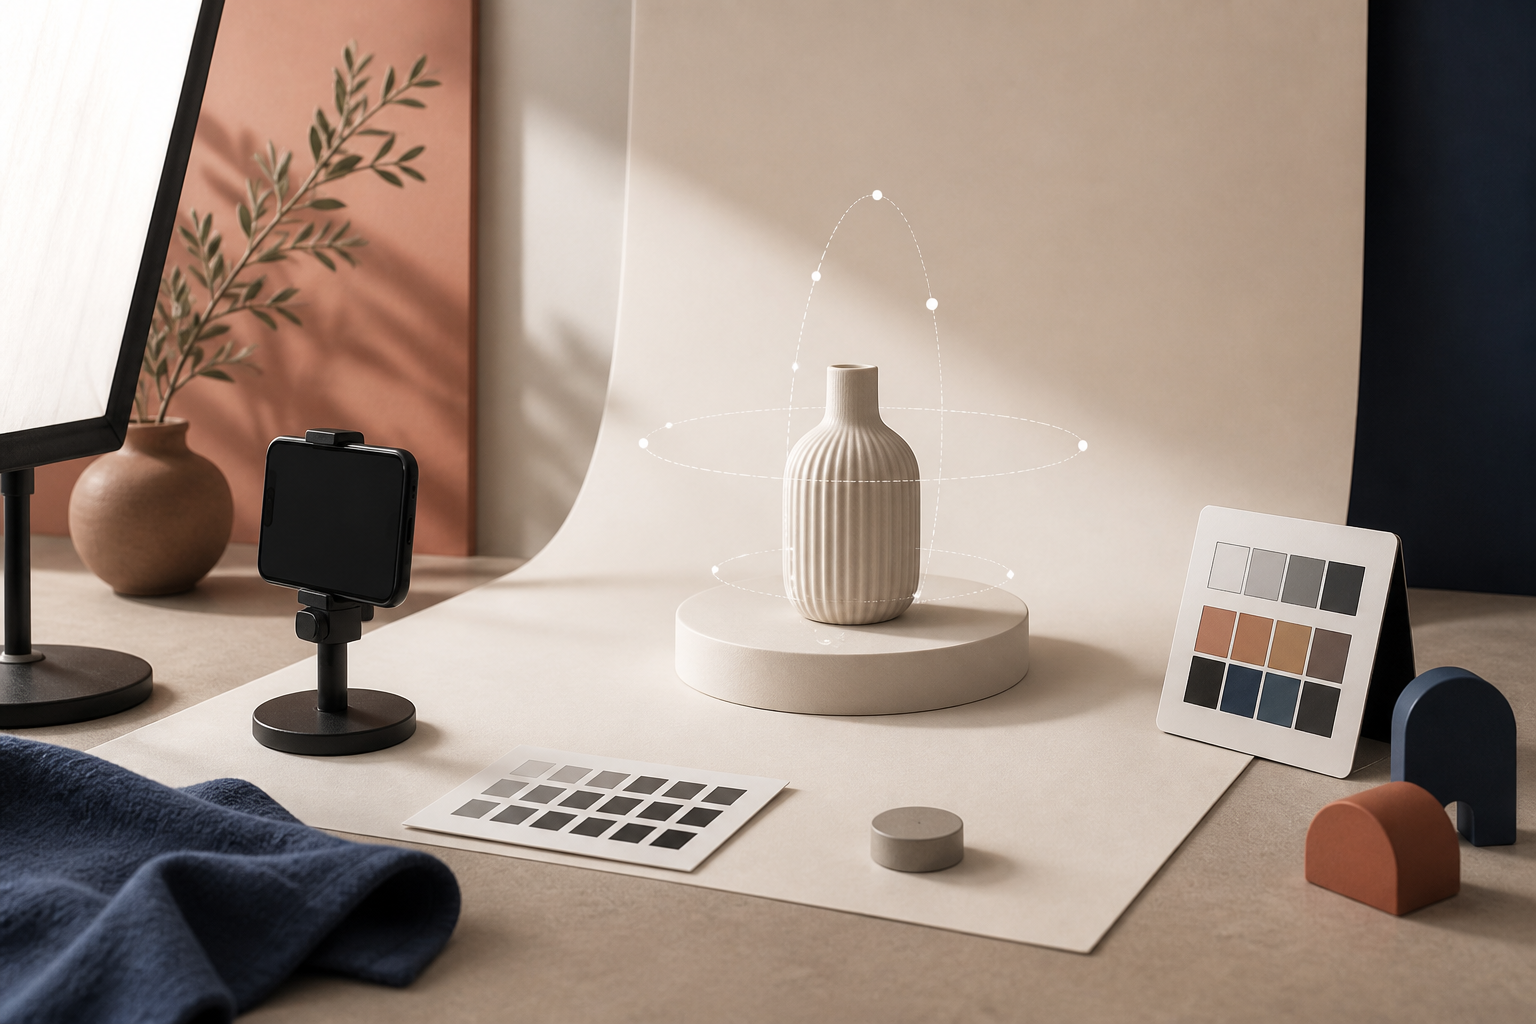
Build A Simple Capture Setup
You do not need a studio to get a decent scan, but you do need consistency. I have had the best results with a setup that is boring on purpose:
- one product,
- one background color,
- one lighting setup,
- and one phone moving around the object instead of a camera zooming in and out.
The background should be plain enough that the object stands out. The light should be soft and even. The product should stay in the same place while you move around it.
That is the big idea behind how to capture a Shopify product in 3D without a studio. You are not trying to make the scene glamorous. You are trying to make the photo set predictable.
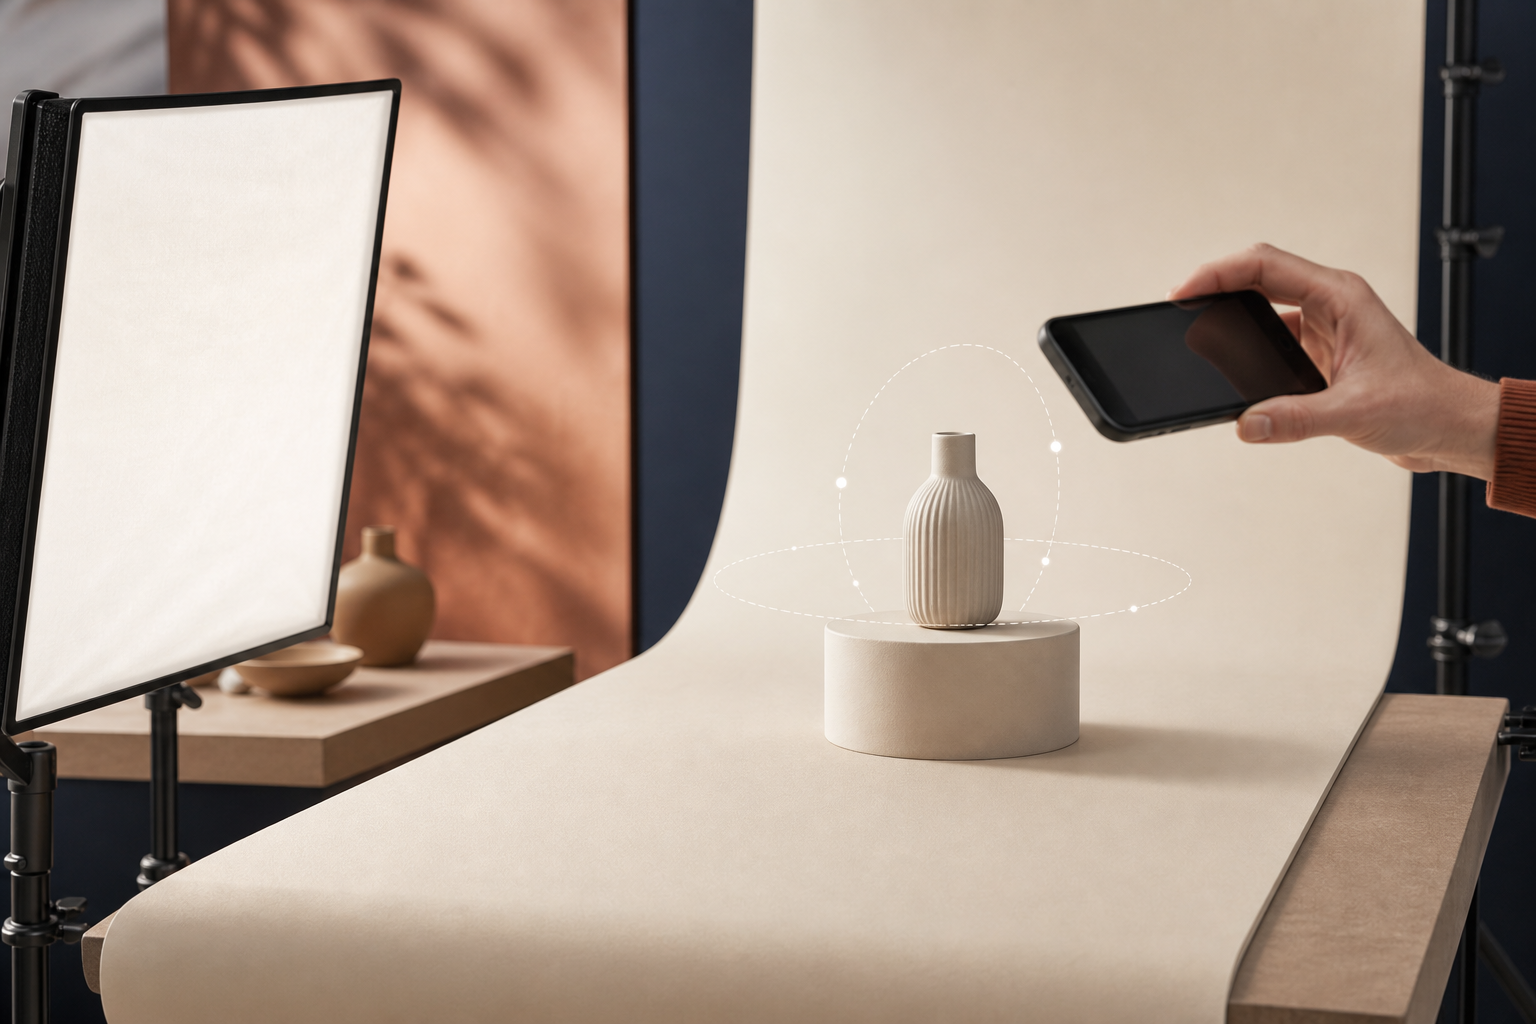
My Shot List
Here is the capture sequence I would use for most Shopify products:
- Clean the product and remove anything that does not belong in the scan.
- Place it on a neutral surface with enough contrast to separate it from the background.
- Take one reference shot straight on so you can verify framing.
- Walk a full orbit around the product and take evenly spaced photos at a constant distance.
- Add a few slightly higher-angle photos if the top surface matters.
- Add a few detail photos only if they help explain texture or form.
- Stop before you get tempted to improvise the last third of the orbit.
The useful habit is consistency. The model builder can handle a guided sequence much better than a bunch of random angles. If you want to narrow your first candidates, how to choose the first Shopify products for 3D capture is a good way to keep the scope small.
What Usually Breaks A Scan
The shot list should also tell you when to stop and reset. The common failure points are easy to spot:
- mixed lighting,
- motion blur,
- cluttered backgrounds,
- reflective highlights,
- transparent or glossy surfaces,
- and inconsistent framing between shots.
That is why I prefer to check the product before I process it. If the object is highly reflective, transparent, or covered in very fine texture, I expect to do more cleanup or to choose a different SKU first.
Review The Product Page, Not Just The Scan
A scan is only useful if it makes the product page better.
Once the GLB is ready, attach it to the Shopify product and check the result in the native 3D viewer or the Online Store 2.0 app block. The goal is not to showcase technology for its own sake. The goal is to make the shopper more confident about the item in front of them.
This is where Supra 3D Capture matters again. It is built to move from capture to publish without forcing you into 3D software, and that keeps the workflow realistic for merchants who already know how to shoot product photos but do not want to model in Blender.
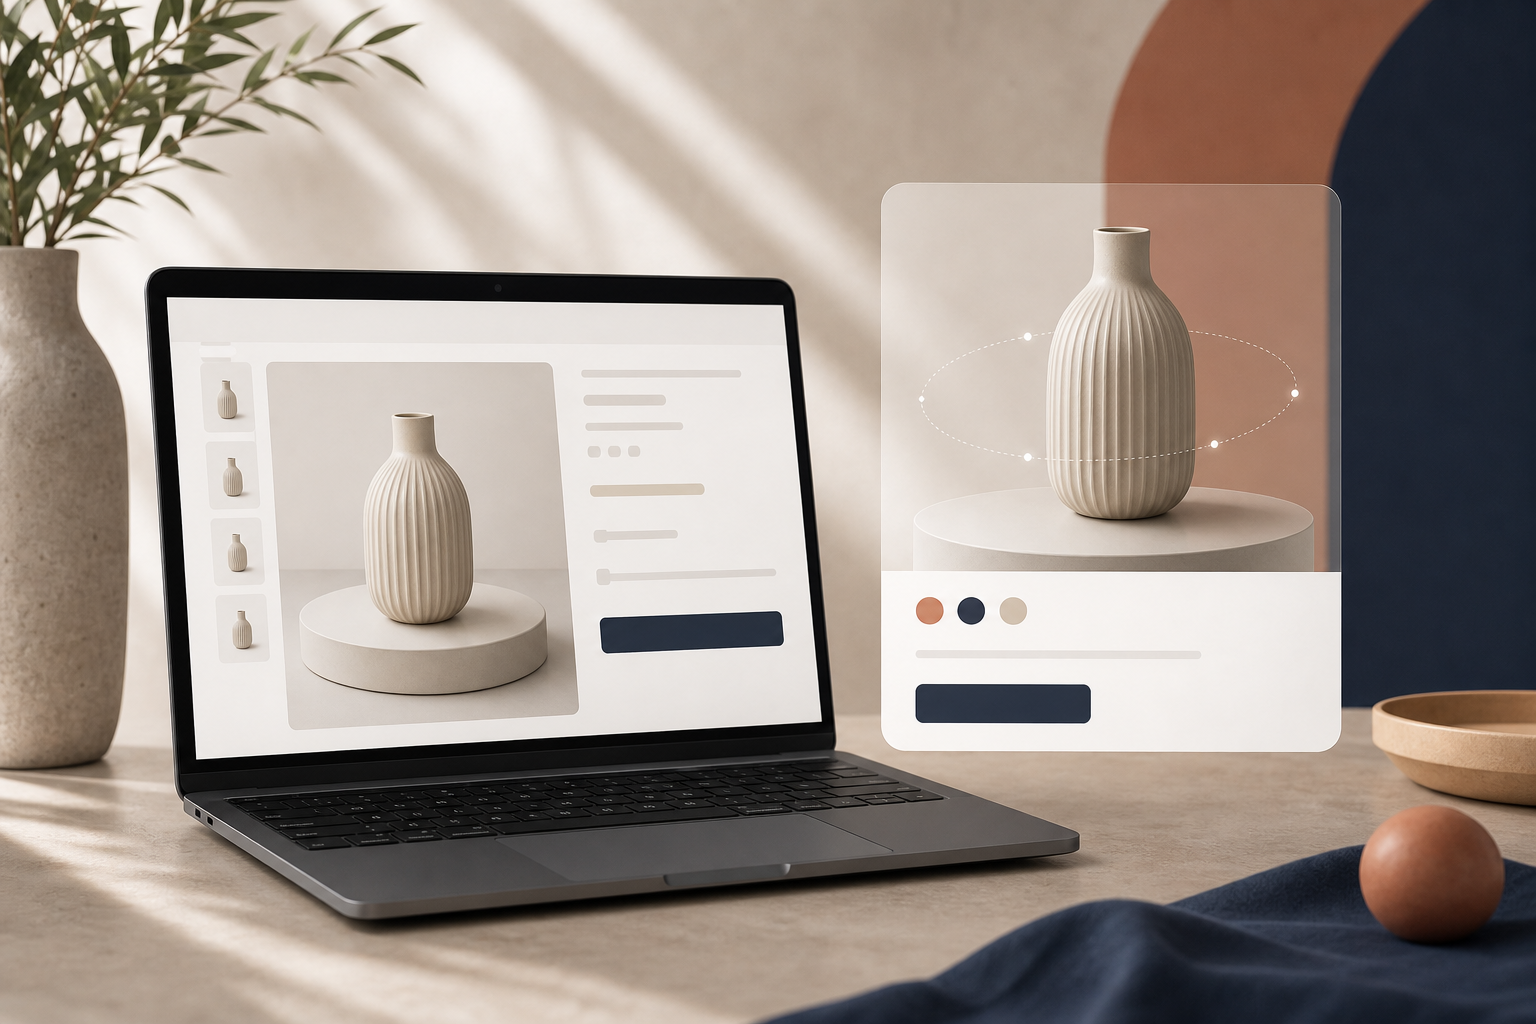
If you want the visual side of the workflow, the Shopify page should answer three questions quickly:
- Can the customer see the shape clearly?
- Can they rotate the object without friction?
- Does the model feel like part of the store instead of a novelty widget?
If the answer is yes, the 3D model is doing its job. If the answer is no, the issue is usually the source photos or the product choice, not the viewer itself.
Keep The First Test Small
I would not start by scanning the hardest product in the catalog. I would start with the item that has clean edges, stable texture, and obvious shape.
That approach gives you a better read on the workflow and a better sense of whether 3D media is worth expanding to the rest of the catalog. It also makes it easier to compare the results against existing product photos, which is often where the real decision happens.
If you are still deciding what to scan first, start with one product that is easy to understand from every angle and one that looks much better when shoppers can inspect it interactively.
Conclusion
A Shopify 3D capture shot list should make the process simpler, not more complicated. Choose the right product, set up one predictable capture scene, shoot a clean orbit, and review the model on the product page before you scale the workflow.
That is usually enough to turn 3D from an experiment into a practical part of product-page merchandising. If you want the shortest next step, install Supra 3D Capture, pick one easy SKU, and build your first shot list around it.
Comments
Post a Comment