If your Shopify product photos look flat, the fastest win is usually not a full reshoot. It is turning one decent original into a cleaner, more contextual image that matches the way people actually shop.
Supra AI Photo Studio is built for that workflow: clean up the source image, remove or replace the background, place the product into a better setting, and reuse the same asset for try-ons or short video variants.
What you should aim for
- A cleaner main image for the product page
- A lifestyle version that adds context
- A worn or modeled version when fit matters
- A motion asset for ads when still images are not enough
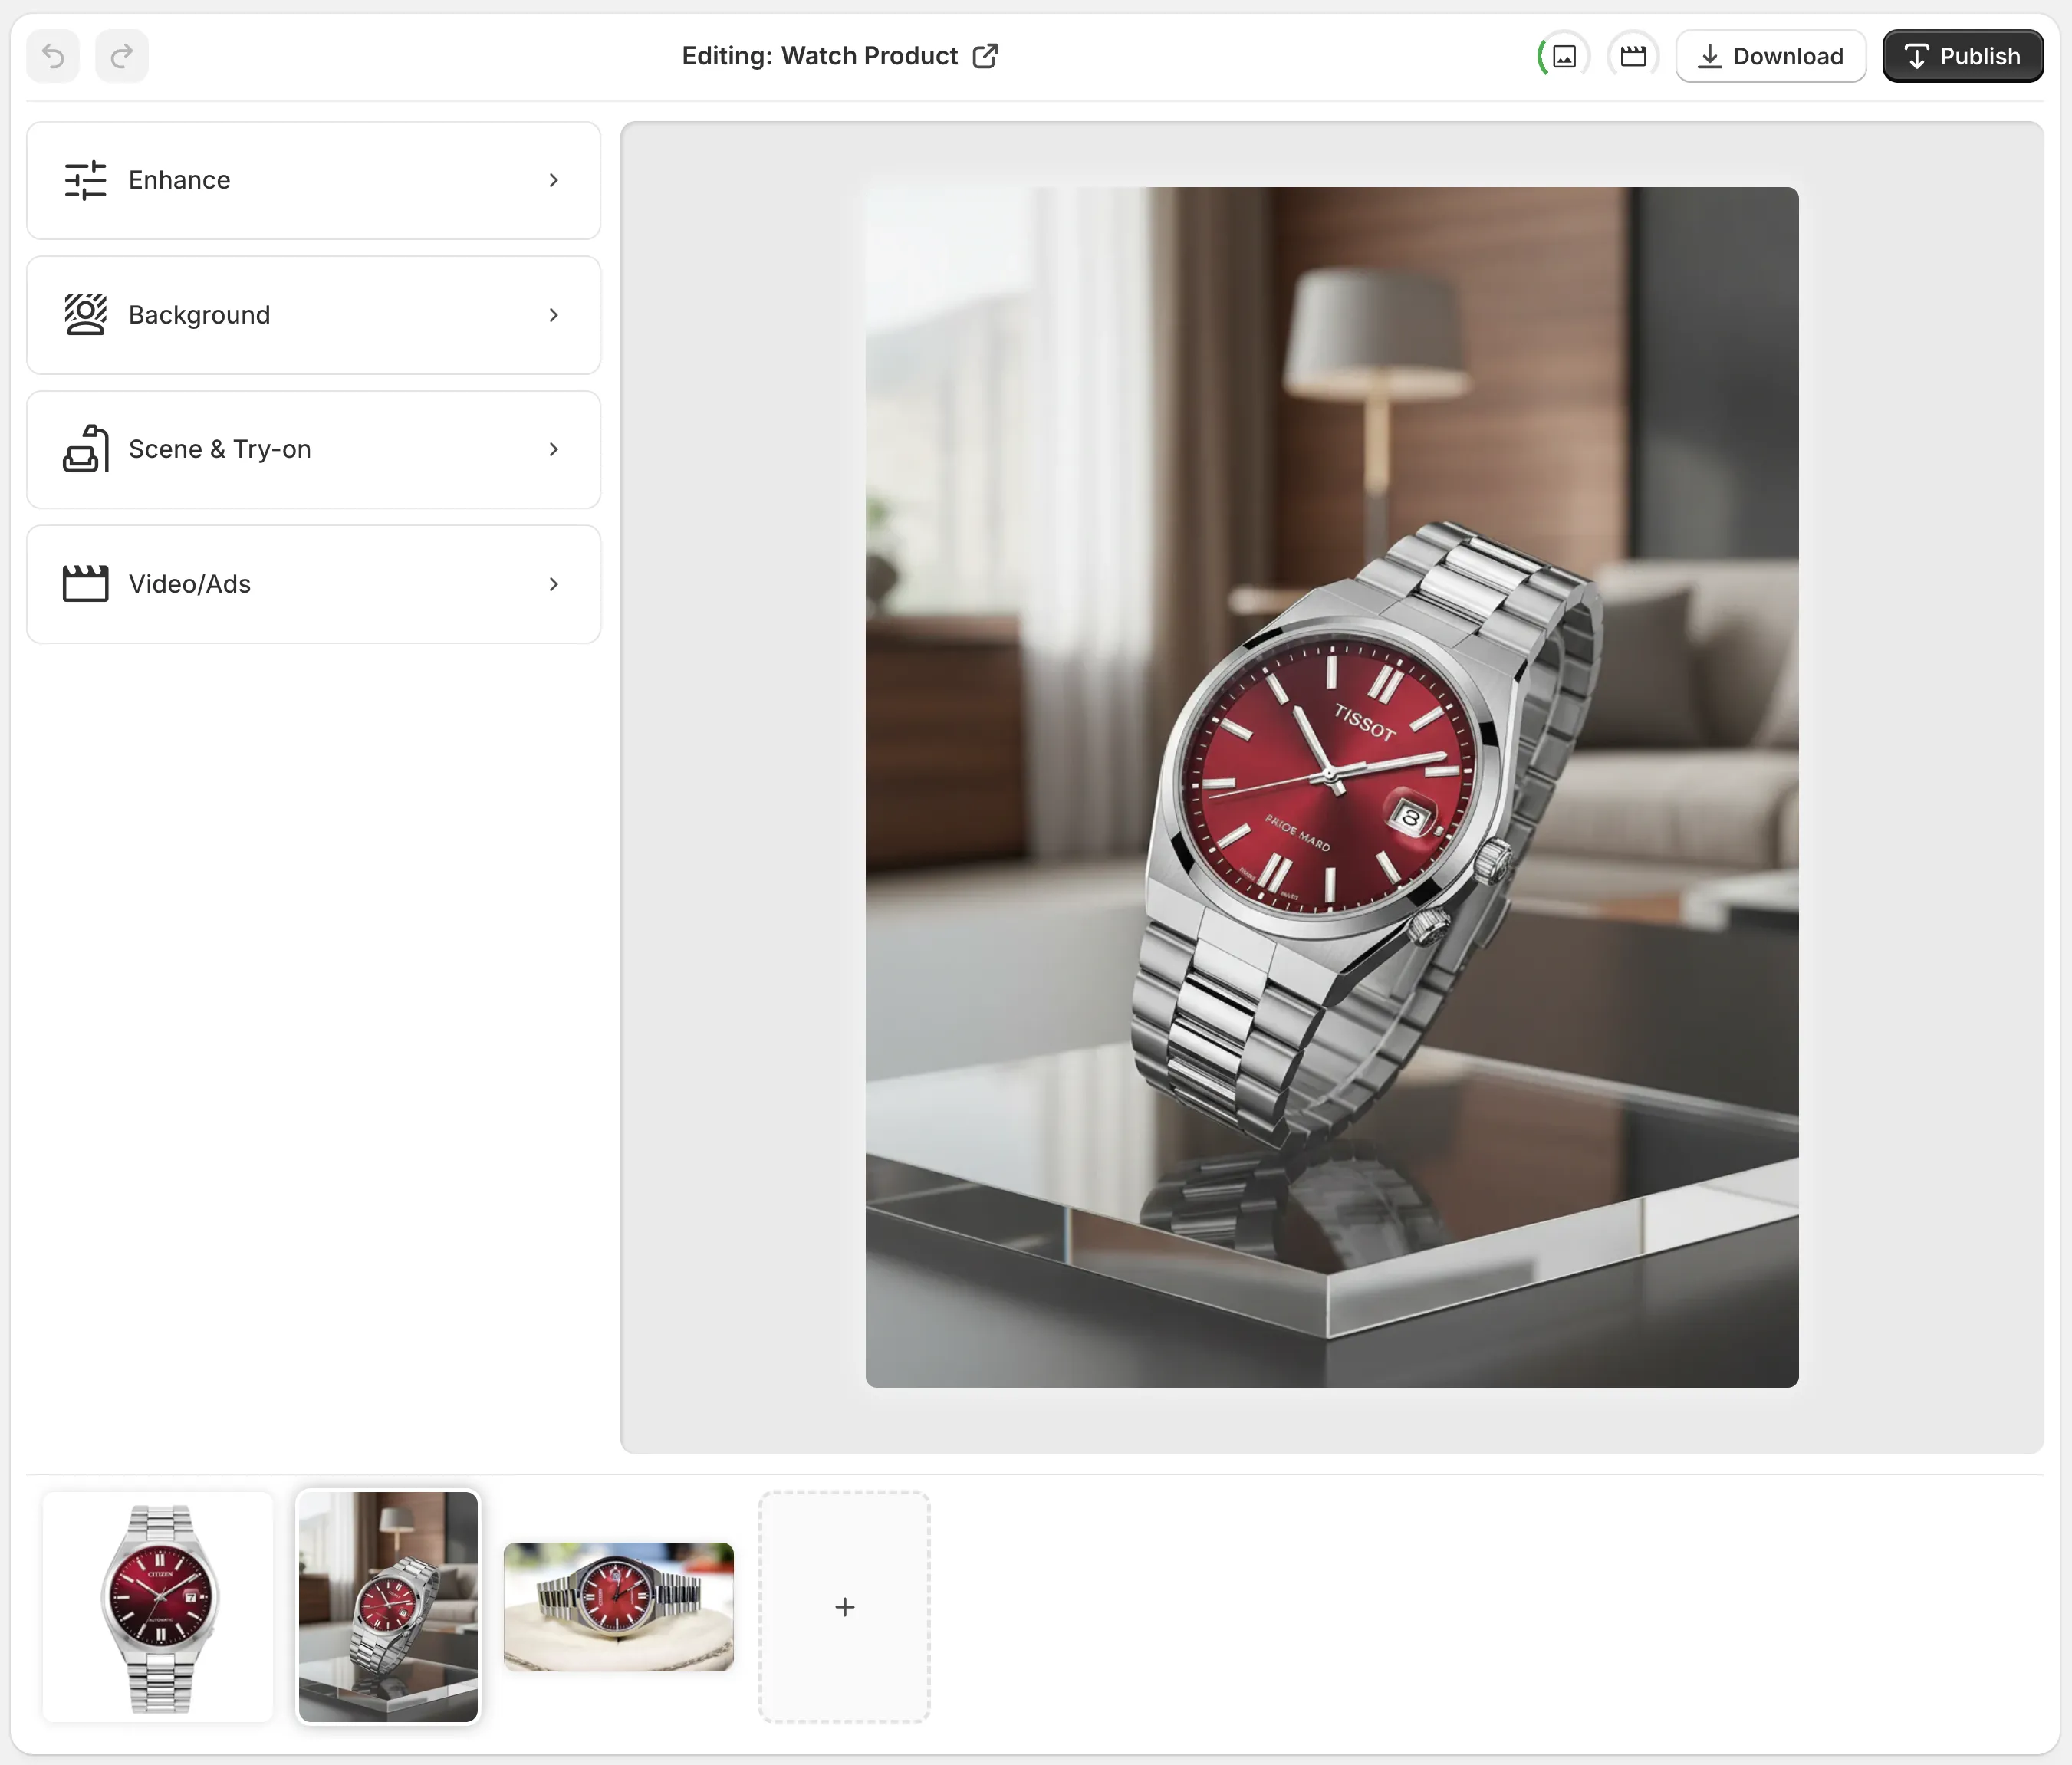
1. Start with the image that needs the least rescue
Open the app from Shopify admin and either pick a product or upload an image. The editor is laid out in a way that keeps the job simple: tools on the left, canvas on the right, top actions for undo, redo, download, and publish, plus a gallery along the bottom.
If the starting photo is dull but usable, begin with background removal, upscaling, or auto-enhance. That usually gives you a better base than jumping straight to a scene change.

The goal here is not perfection. It is getting the source image to a place where the AI can do useful work without inventing details you did not give it.
2. Add context with object placement
Once the product is clean, place it into a scene that makes sense for the buyer. A mug in a kitchen, a vase on a table, or a bag in a boutique-style setting does more work than a blank background because it tells the shopper how the item lives in the real world.
That is where object placement is handy: it lets you move from plain shot to lifestyle scene without building a separate shoot for each channel or collection.


A good lifestyle edit should still feel like the same product. If the shape, color, or material starts drifting, back off and simplify the scene.
3. Use try-on when the item is worn
Fashion, jewelry, and accessories need a human frame. If the shopper cares about scale, drape, or how the item sits on a person, try-on is usually the more useful path. Supra AI Photo Studio supports custom AI models, so you can steer the look instead of settling for a generic placeholder image.


This is especially useful when a product page needs one image that communicates fit, proportion, and style all at once. A good try-on should answer the shopper’s first question quickly: does this look right on me?
4. Turn the same visuals into motion when the channel needs it
Static images are still the core of a product page, but ads and social posts often benefit from movement. The app can generate UGC videos and b-roll, which makes it easier to turn the same product into a creative for TikTok, Reels, or paid social without starting from scratch.

If you want to keep going on the motion side, pair this post with How to Turn One Shopify Product Into Five UGC Video Ads, How to Turn One Product Brief Into Five Shopify Video Ads, or How to Turn Product Data Into MP4 Videos with VideoFlow.
For the still-image side of the workflow, How to Create Studio-Quality Shopify Product Photos From Plain Shots is the closest companion piece.
A simple rule for deciding what to use
- Use enhancement when the original is almost good enough.
- Use object placement when the product needs context.
- Use try-on when the shopper needs to see fit or proportion.
- Use video when the asset has to carry an ad or social hook.
That sequence keeps your catalog visually coherent without forcing every product into the same treatment.
The practical takeaway
If you want to test the workflow, start with the free plan and move one product through all three paths: clean it, stage it, and turn it into a variant for ads. The free plan includes 4 AI image generations per month, and the Standard plan starts at $14.17/month if you need more volume.
You can see the app on the Shopify app listing or the landing page.
The practical takeaway is simple: start from one clean source shot, then use AI to make the version your shopper actually needs. That is faster than reshooting everything and much easier to keep consistent across the catalog.
Comments
Post a Comment