
If your product photos only solve one problem, you end up re-editing the same SKU for every channel. I prefer a pipeline: clean the source shot once, choose the right edit for the job, and reuse that output across product pages, ads, and social. That is the kind of workflow Supra AI Photo Studio is built for inside Shopify.
TL;DR
- Start with one honest source photo.
- Pick cleanup, try-on, placement, or video based on the job.
- Reuse the best output across product pages, ads, social, and email.
- Keep a human review step for sensitive products and claims.
Start With A Source Photo You Can Trust
The fastest way to get better results is to make the input easier for the model. If the original shot is blurry, badly lit, or crowded with distractions, every later edit has to work harder.
I usually start with the simplest fixes first: remove the background, correct the lighting, and upscale only when the file actually needs it. That keeps the product shape intact before you ask for a lifestyle scene, a model try-on, or a video clip.
Supra AI Photo Studio supports that order of operations directly. You can clean the image first, then move into more expressive outputs once the product is readable.
Pick The Right Edit For The Job
Not every product photo should become the same kind of asset. I use the channel and the product type to decide what to do first:
- Product pages usually need the cleanest version. Background removal, color correction, and upscaling matter more than drama.
- Fashion and accessories often benefit from AI try-on because fit and context are easier to understand on a model.
- Home goods and lifestyle products usually need object placement so the item looks natural in a believable scene.
- Ads and social often need motion, which is where UGC videos or short b-roll clips are useful.
If you are still deciding between those options, I broke down the tradeoffs in How I Decide Whether a Shopify Product Photo Needs Try-On, Placement, or Video.
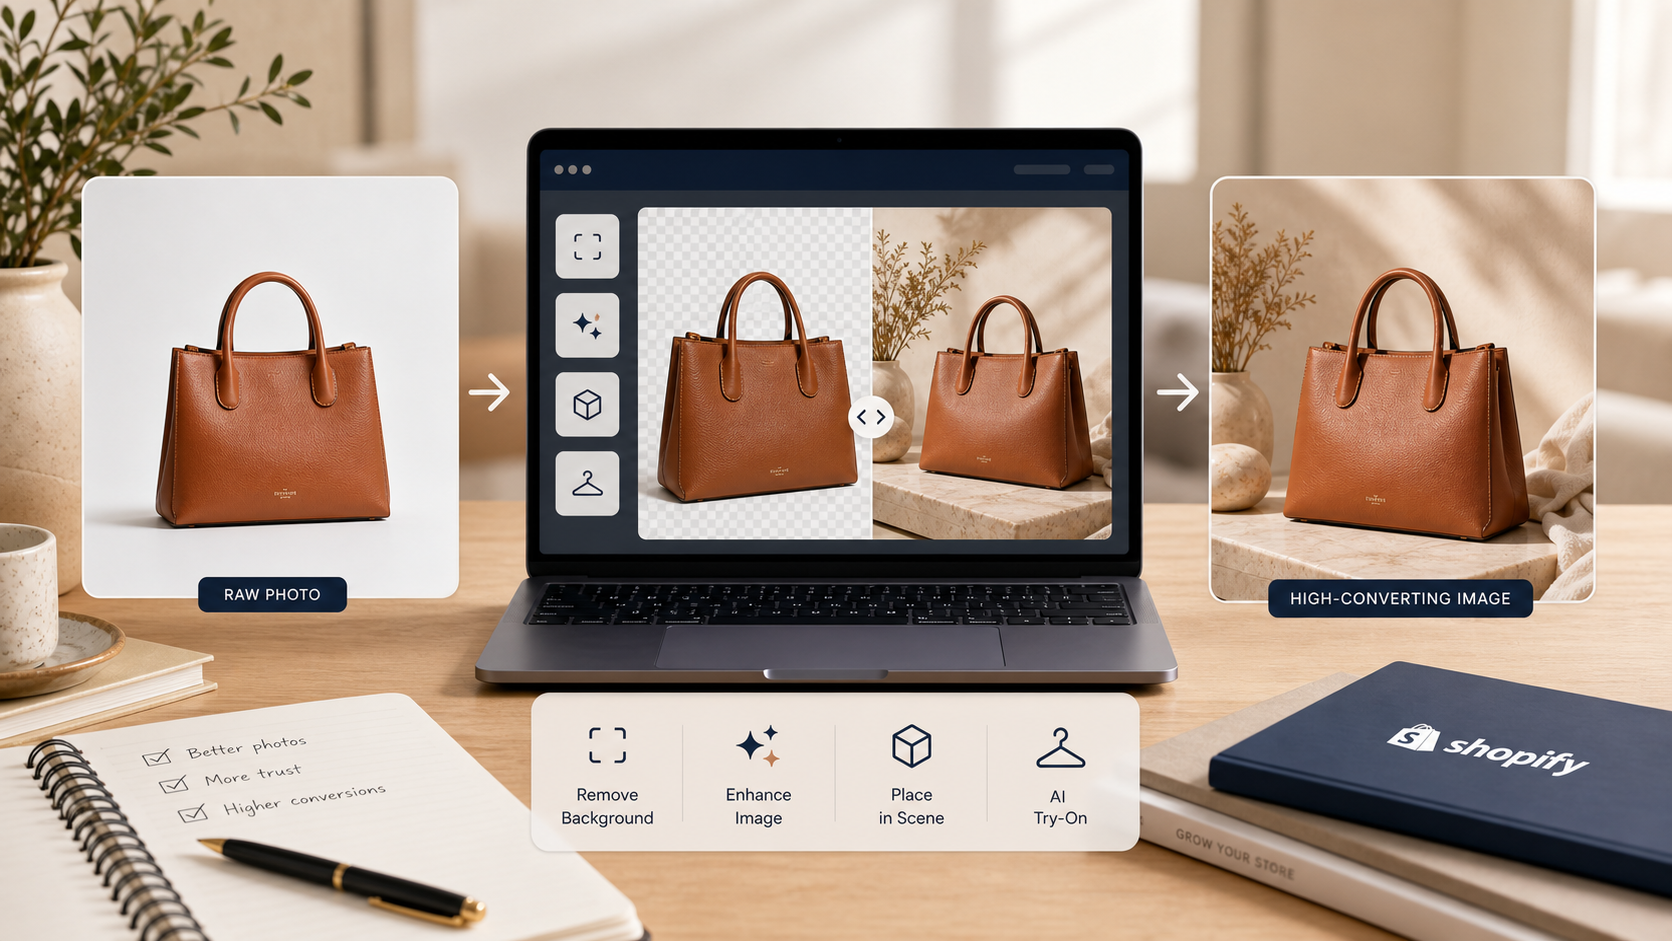
That kind of sequence is why I prefer a workflow product instead of a one-off image editor. One source photo can become a clean PDP image, a more emotional hero shot, and a motion asset for paid media without starting over each time.
Turn One Edit Into Three Outputs
Once the source photo is cleaned up, I think in channels:
- Product page: this version should be clear, credible, and fast to load. It is the image that helps the shopper trust the item.
- Paid ad: this version should stop the scroll. A more styled scene, better crop, or motion clip works better here.
- Social and email: this version should feel native to the feed and give the product a little more context.
That is the same reason I like posts that move from a single image into a channel set. I wrote more about that reuse pattern in How I Build a Shopify Product Photo Pipeline That Feeds Every Channel and How I Turn One Product Photo Into a Channel-Ready Shopify Asset Set.

A good pipeline does not make each version look identical. It makes each version feel like the same product, just presented with a different job in mind.
Keep The Visual System Consistent
The most common mistake I see is over-editing one SKU until it looks completely detached from the rest of the catalog. That usually happens when merchants chase novelty instead of consistency.
I try to keep a few things stable across the store:
- Similar background tones and lighting families.
- Similar crop rules for similar product types.
- Similar retouching intensity across the catalog.
- Similar levels of realism in try-on, placement, and video.
If you want the lighter-touch version of that process, How I Turn Basic Shopify Product Photos Into Better Assets is the simplest next read. If you want the broader system view, How to Build a Shopify Creative Stack From One Product Photo is a useful companion.
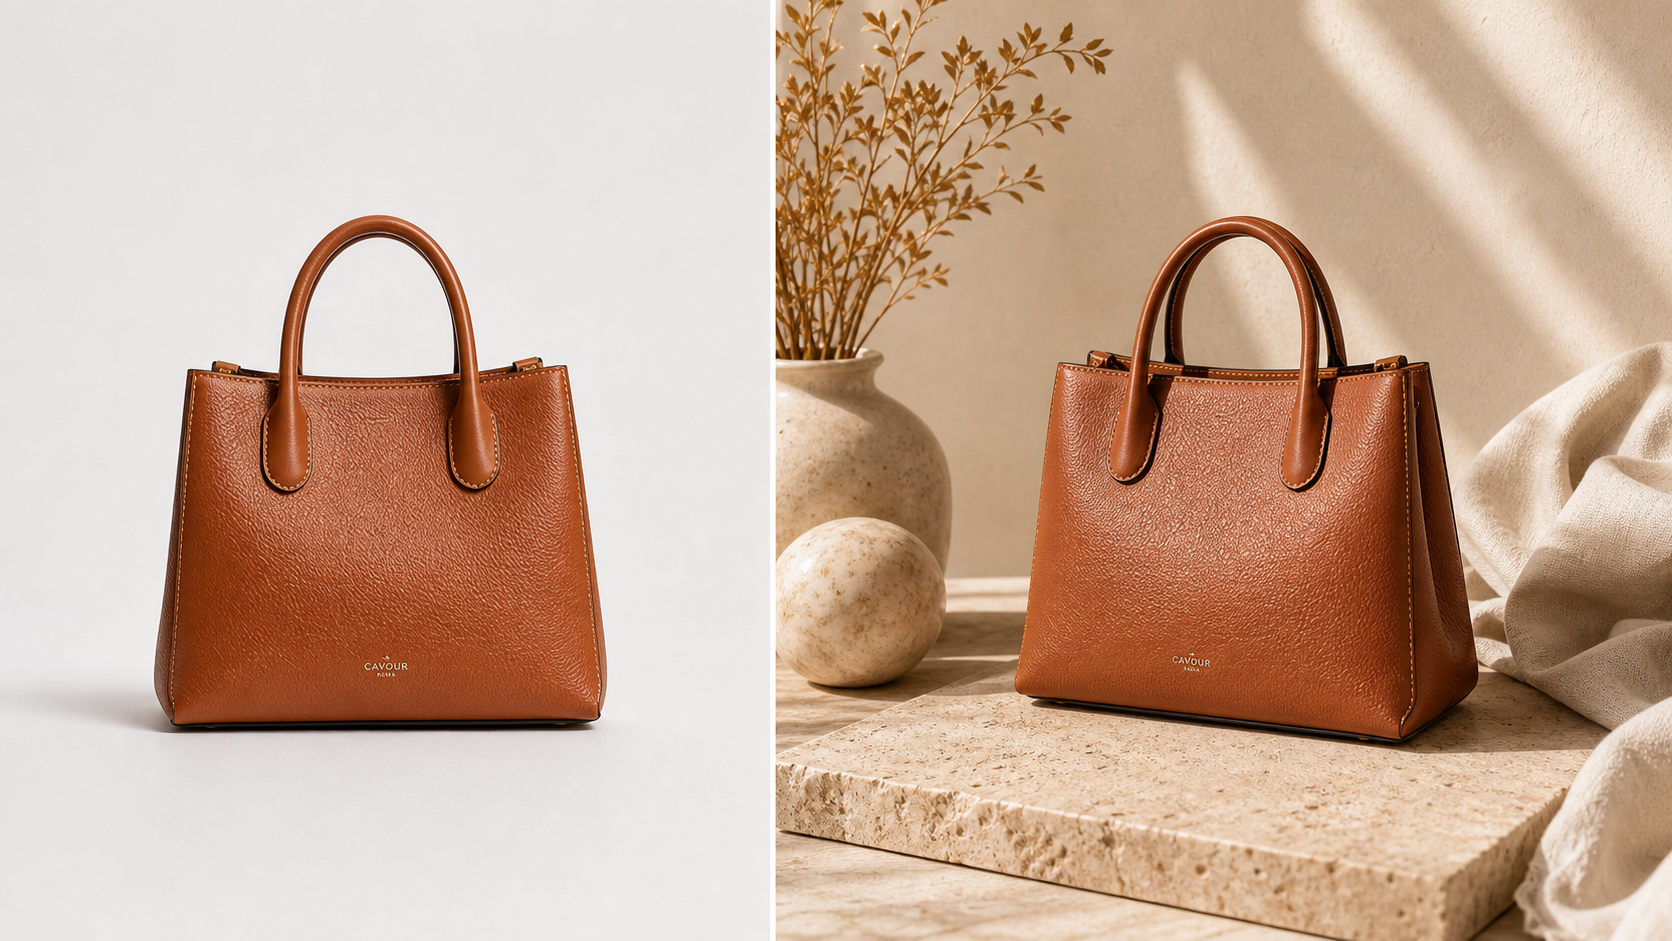
That consistency matters because shoppers notice when one product looks polished and the next one looks like it came from a different store.
A Simple Workflow Inside Supra AI Photo Studio
Here is the workflow I would use if I were setting this up from scratch:
- Upload the product image from Shopify admin.
- Remove the background or run an enhancement pass first.
- Choose the next edit based on the goal: try-on, placement, or a short video.
- Review the output and make sure the product shape, color, and fit still make sense.
- Publish the final asset or save it as a draft if it needs another check.
That draft step matters. Automation helps most when it gets you to a reviewable starting point, not when it bypasses judgment completely.
Supra AI Photo Studio has a free plan available, which makes it easy to test the workflow on a few SKUs before you roll it out more broadly. If you want the app itself, you can start on the landing page or check the Shopify app listing.
When To Stop And Review
I would be careful with products where fit, material, or claims matter a lot. A fast AI workflow is useful, but it still needs a human check when the output could affect trust or compliance.
That is also why I like a reviewable process more than a fully automatic one. It gives you the speed advantage without forcing you to publish something that does not match the product.
Conclusion
A strong Shopify photo workflow is not about making every image look fancy. It is about making one source photo useful in more places with less manual work.
If you want to build that pipeline inside Shopify, start with Supra AI Photo Studio, turn one source photo into a clean product page image, then generate the channel-specific versions you need next.
Comments
Post a Comment