
If you need a launch video for an ecommerce product, start with the product page—not a blank creative brief. Your page already contains the raw material: the customer problem, the proof, the product moment, and the action you want shoppers to take. The work is turning those ingredients into a short story that is clear enough to make and easy enough to review.
I have seen stores lose days by asking for ‘a product video’ before they decide what the video must communicate. A simple page-to-brief pass prevents that. It also gives you something concrete to hand to a freelancer, agency, or an AI video workflow.
TL;DR: pull five things from the product page
Before anyone opens an editor, write down these five inputs:
- The shopper’s problem or desired outcome
- The product’s one most useful promise
- The proof that makes the promise believable
- The moment where the product becomes tangible
- The single next action: buy, join a waitlist, try a demo, or learn more
That is enough to create a focused 30–60 second launch-video brief. If your page cannot supply one of those answers, fix the page first; the video will only magnify the ambiguity.
1. Choose one job for the video
A launch video should not try to replace your product page. Decide whether it is helping a cold visitor understand the offer, helping a warm visitor picture using it, or giving existing customers a reason to care about a new release. Pick one.
For example, a store launching a rechargeable travel steamer might choose: ‘Show busy travelers that they can unpack a wrinkle-free outfit in minutes.’ That is much tighter than ‘explain every feature.’ The product page may have FAQs, bundle details, shipping terms, and comparison tables; the video only needs the narrative that earns the next click.
This same rule makes ecommerce content more reusable. A clear product story can feed an ad, a collection-page teaser, and even a post-purchase walkthrough. If you are still sorting product-page structure, this guide on organizing Shopify product page content without theme code is a useful companion.
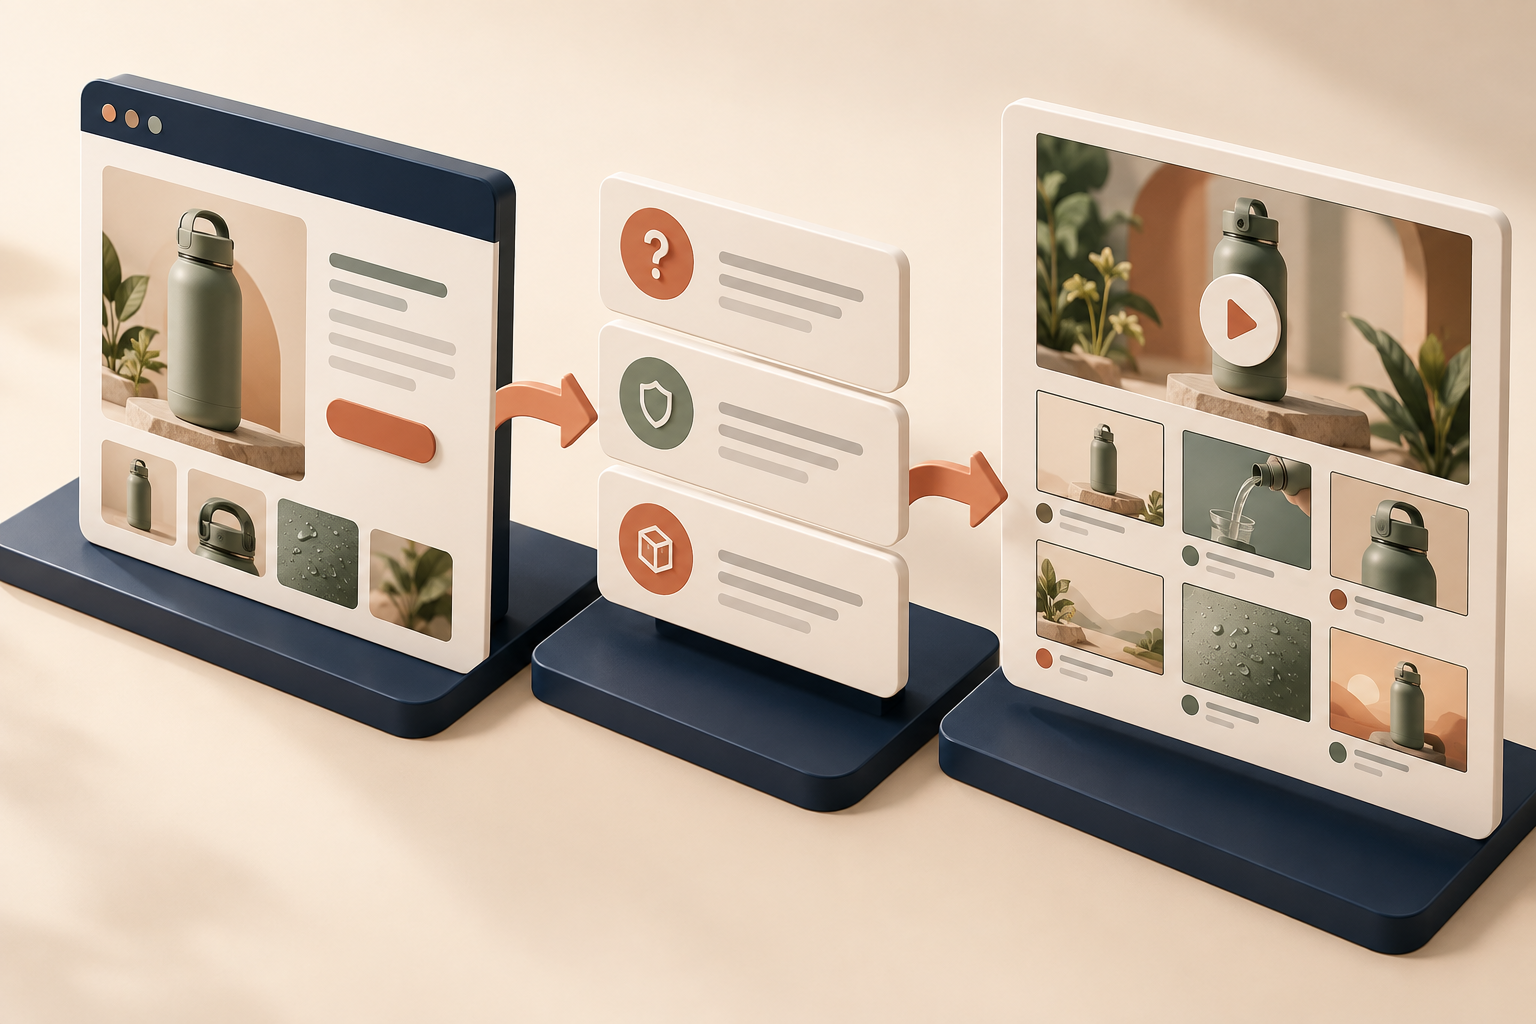
2. Turn page copy into a four-scene outline
You do not need a screenplay. I use a four-scene outline because it forces a useful edit:
- Problem: show the frustrating before-state your shopper recognizes.
- Reveal: introduce the product and its primary benefit.
- Proof: show the feature, result, or credible detail that supports the claim.
- Action: finish with the exact next step and a clean brand moment.
Keep each scene to one idea. If the proof scene needs five feature callouts, choose the one that resolves the problem most directly and move the rest to the product page. This is especially important on mobile, where a busy video can be harder to follow than a well-built image sequence.
For a software or digital-product launch, the same outline still works. A founder can turn a landing page into a designed motion-graphics first cut with VideoFlow Studio: give it a URL from the terminal, let the agent develop the plan and film, then direct revisions in plain language. Studio is the operator-facing product; its open-source VideoFlow engine is the editable document and rendering foundation underneath it.
3. Add the proof your shopper actually needs
The strongest page-to-video briefs are not a parade of claims. They specify what will make the promise credible. Depending on the product, that may be a close product view, a material detail, a short interface interaction, a before-and-after comparison, or a plain-language customer outcome.
For physical products, make sure the video uses the same variant, color, and product details the shopper will see after clicking through. That small consistency check matters more than a dramatic transition. It is the same discipline behind a reliable Shopify product photo workflow: visual assets should remove uncertainty, not introduce it.
For a SaaS or service, reserve proof for the real product interface or a result you can substantiate. Avoid inventing metrics, partner logos, or customer outcomes just to make the storyboard feel fuller.
4. Make the first cut reviewable
This is where many ‘quick’ launch videos become slow. The first render arrives, feedback is vague, and someone has to reconstruct the whole thing. Write review criteria directly into the brief instead:
- Does the opening make sense with the sound off?
- Is the main promise visible before the viewer scrolls away?
- Are product visuals, colors, and claims accurate?
- Does each scene have enough contrast on a small screen?
- Does the closing action match the destination page?
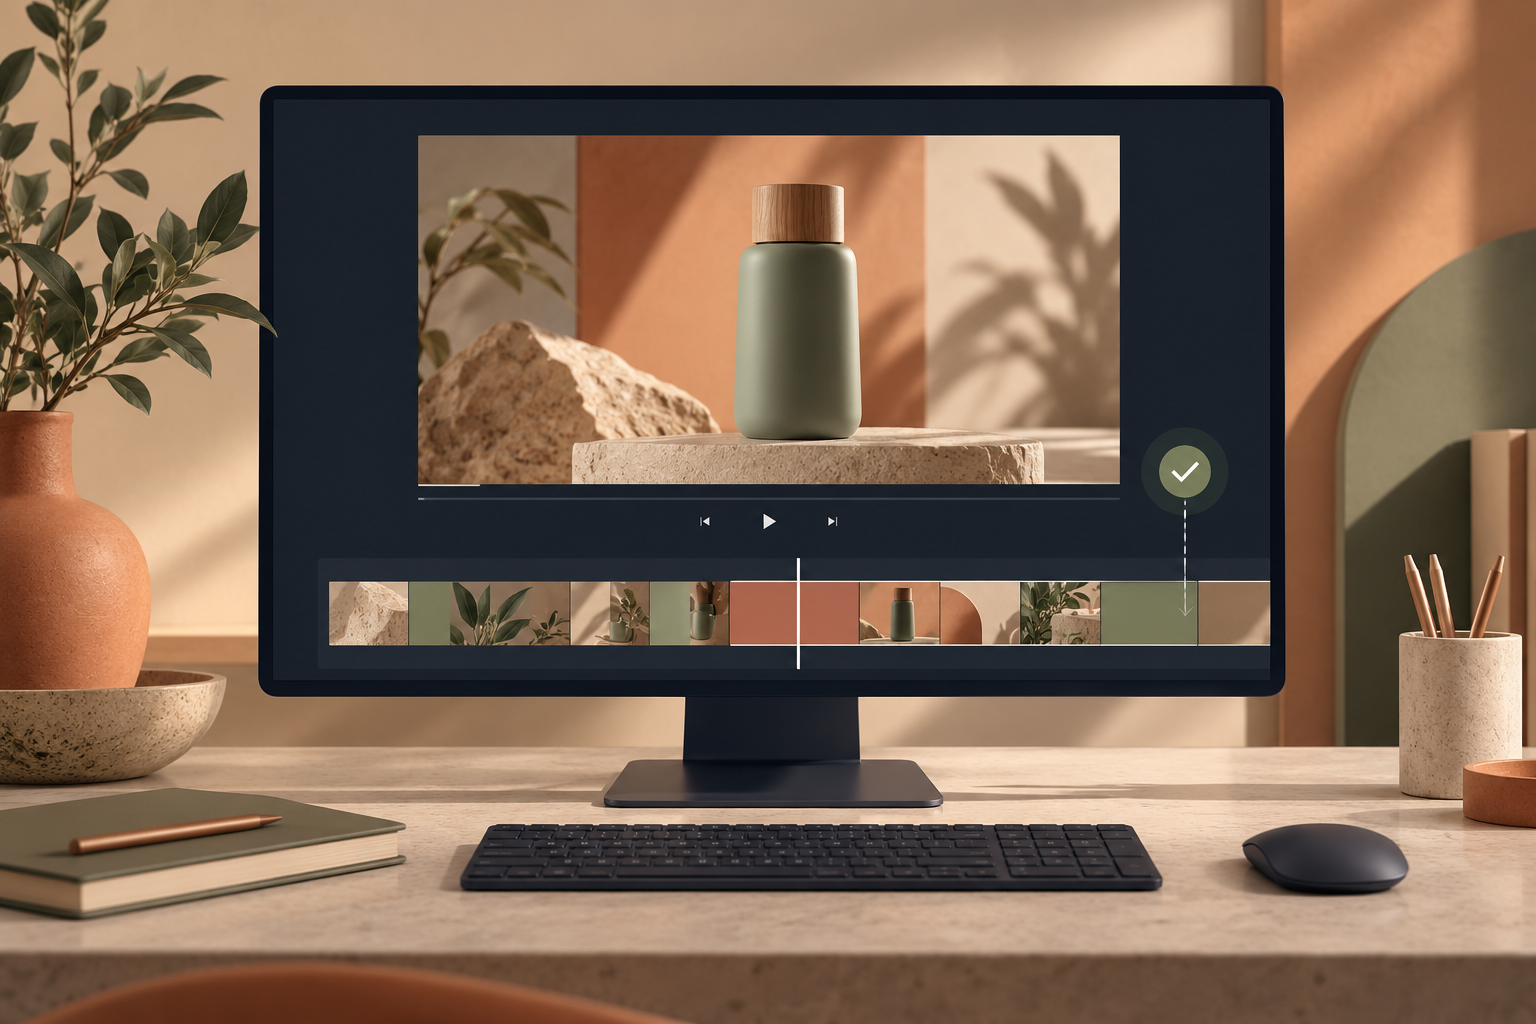
A tool that keeps the video structured helps here. VideoFlow Studio can render, inspect encoded frames for issues such as alignment or contrast, and re-render corrections; you can also adjust layers, timing, colors, and text in its built-in editor without losing the agent context. That is a different job from a one-shot generated clip: you are building a first cut you can actually improve. For a related operator perspective, see how to keep a startup launch video editable after the first cut.
5. Create a reusable handoff, not a one-off request
Save the final brief with your product URL, selected variant, source images, approved claims, desired aspect ratios, and the exact CTA. Next time you launch a colorway, bundle, collection, or feature, you will begin with a proven framework instead of a blank page.
This is also how you avoid the classic ecommerce mismatch: a video says one thing, an ad says another, and the landing page promises a third. If you are planning a broader launch cadence, a reviewable seasonal Shopify content calendar can help you decide where this video belongs before production begins.

A simple starting brief you can use today
Copy this into your next production request:
Create a 30–60 second launch video for [product URL]. The viewer is [audience] and the core job is to show [problem/outcome]. Open with [before-state], reveal [product and main benefit], prove it with [specific detail], and end with [CTA]. Use [approved assets/variant]. The first cut must be easy to review against accuracy, mobile readability, and CTA clarity.
Then make one decision: do you need a polished final render immediately, or a reviewable first cut that your team can refine? For the second path, try VideoFlow Studio with your product or startup URL and keep the final video editable as your launch changes.
A good product video begins with a good product-page story. Pull the five inputs, narrow the job, and make the first cut easy to review. Your customers—and your future self—will have a much clearer path to yes.
Comments
Post a Comment