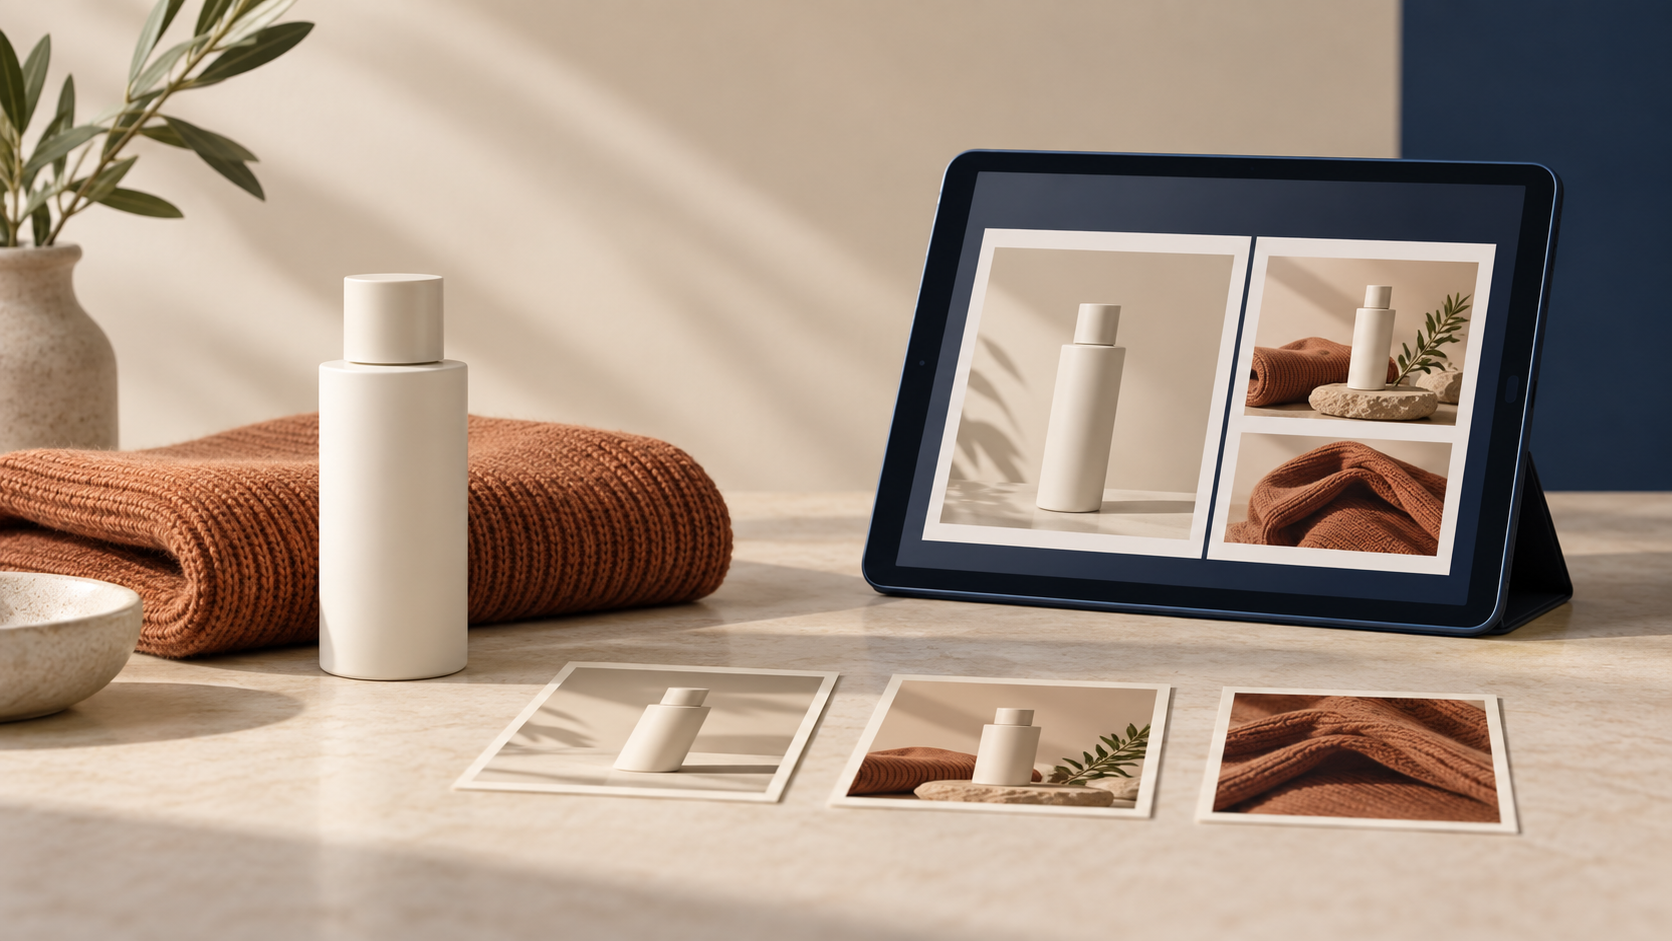
If your Shopify launch photos feel like a collection of unrelated experiments, the quickest fix is usually not another photo shoot. It is a simple product photo shot list. I have seen small stores spend time making beautiful individual images, then lose the product-page story because the catalog shot, lifestyle shot, and ad creative all answer different questions.
A shot list gives every image a job before you start editing. It helps you work faster, keeps the product recognisable, and makes it easier to reuse the same visual direction across your store and campaigns.
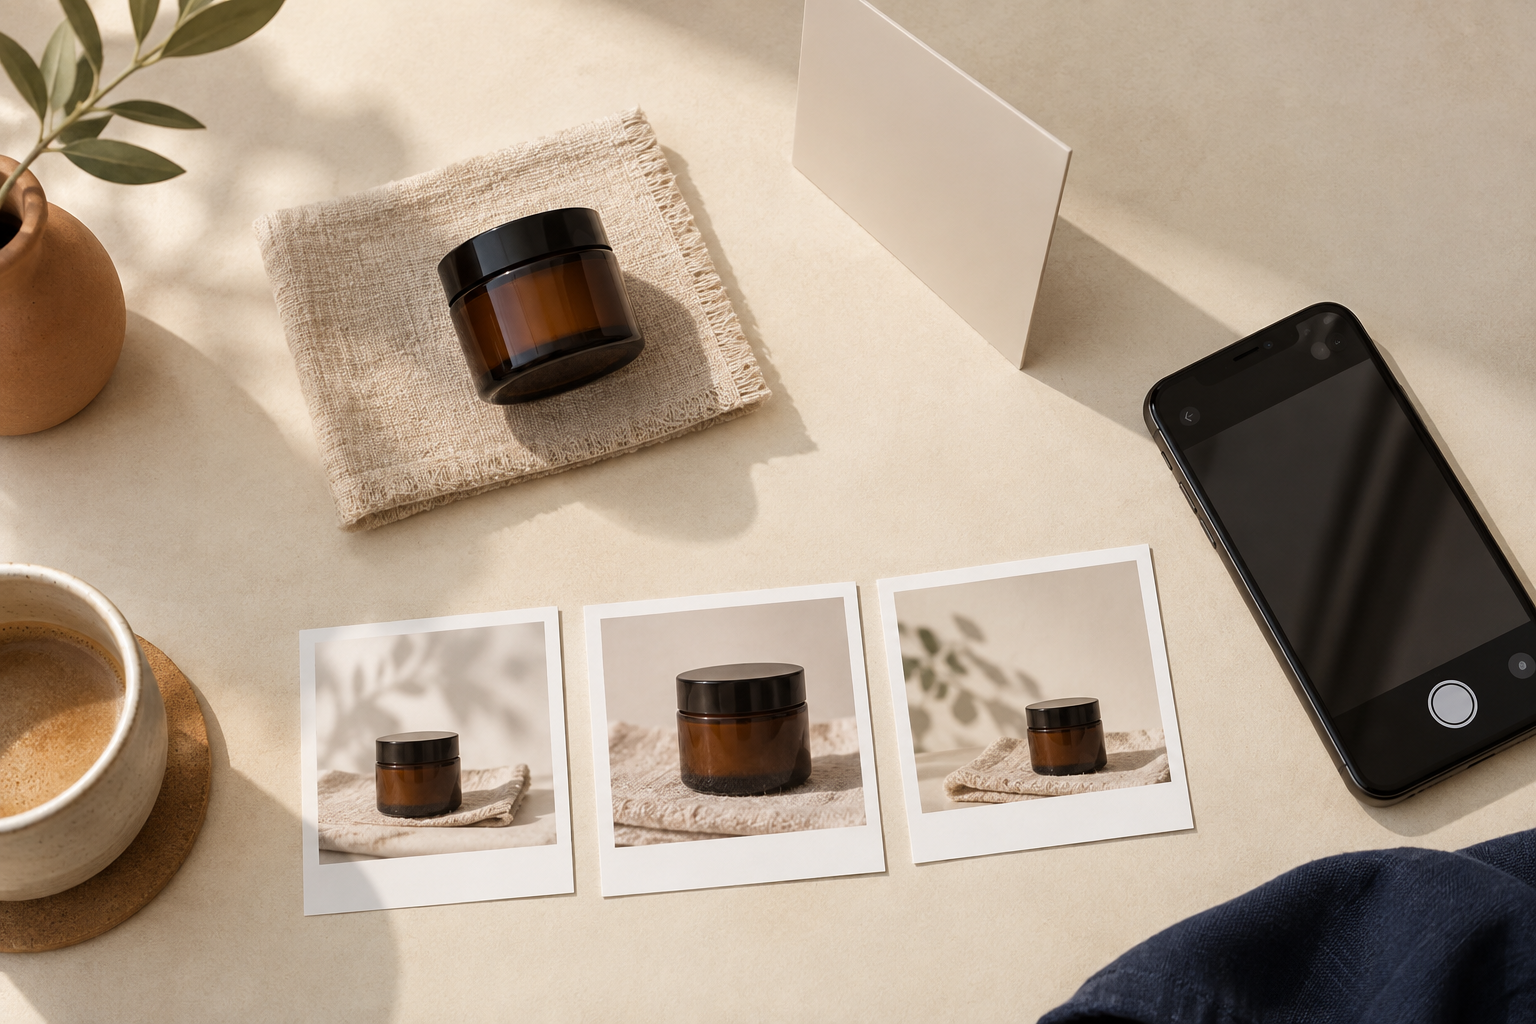
Start with the product-page decision
Before listing angles, write down the one decision a shopper needs to make on the page. For a knit tote, that may be size and texture. For a face serum, it may be packaging, finish, and how it fits into a daily routine. For a lamp, it may be scale and the way it looks in a real room.
That decision tells you which images are essential. A useful launch set is usually built from five roles:
- Clean hero: a clear, well-lit image that confirms the product immediately.
- Detail proof: a close view of material, finish, hardware, or texture.
- Scale or fit: an in-hand, on-model, or in-room image that removes uncertainty.
- Lifestyle context: the product doing its actual job in an appropriate setting.
- Campaign variation: a crop or scene with room for an ad, email, or social placement.
The first three support buying confidence. The last two give you marketing range. Do not make every image a lifestyle image; shoppers still need a fast, honest view of what arrives at their door.
Build the shot list before opening an editor
Use a short brief for each image: product, purpose, framing, background, and one detail that must remain accurate. For example: "front-facing amber bottle, product-page hero, waist-level crop, warm off-white background, label shape and cap colour unchanged."
This is especially important if you are creating new scenes from existing product photos. Supra AI Photo Studio can remove or replace backgrounds, improve lighting and sharpness, create model try-ons, and place products into lifestyle scenes. Those tools are more useful when the brief is specific enough to protect the product rather than merely asking for something attractive.
I would start with the cleanest source image you have. Isolate the product first when a busy background could confuse the result, then create one variation at a time. Save the strongest version to the product gallery before moving to the next role in your list.
Keep one visual system across every scene
Consistency does not mean every image needs the same backdrop. It means a shopper can tell they belong to the same brand and product. Pick a few guardrails before you create variations:
- Choose one lighting direction, such as soft daylight from the left.
- Repeat two or three brand-friendly colours in props and backgrounds.
- Keep the product at a similar visual size in your hero and supporting shots.
- Decide whether your styling is clean studio, warm home, outdoors, or editorial, then stay close to it.
- Check that the product colour, shape, texture, and key details are not altered between images.
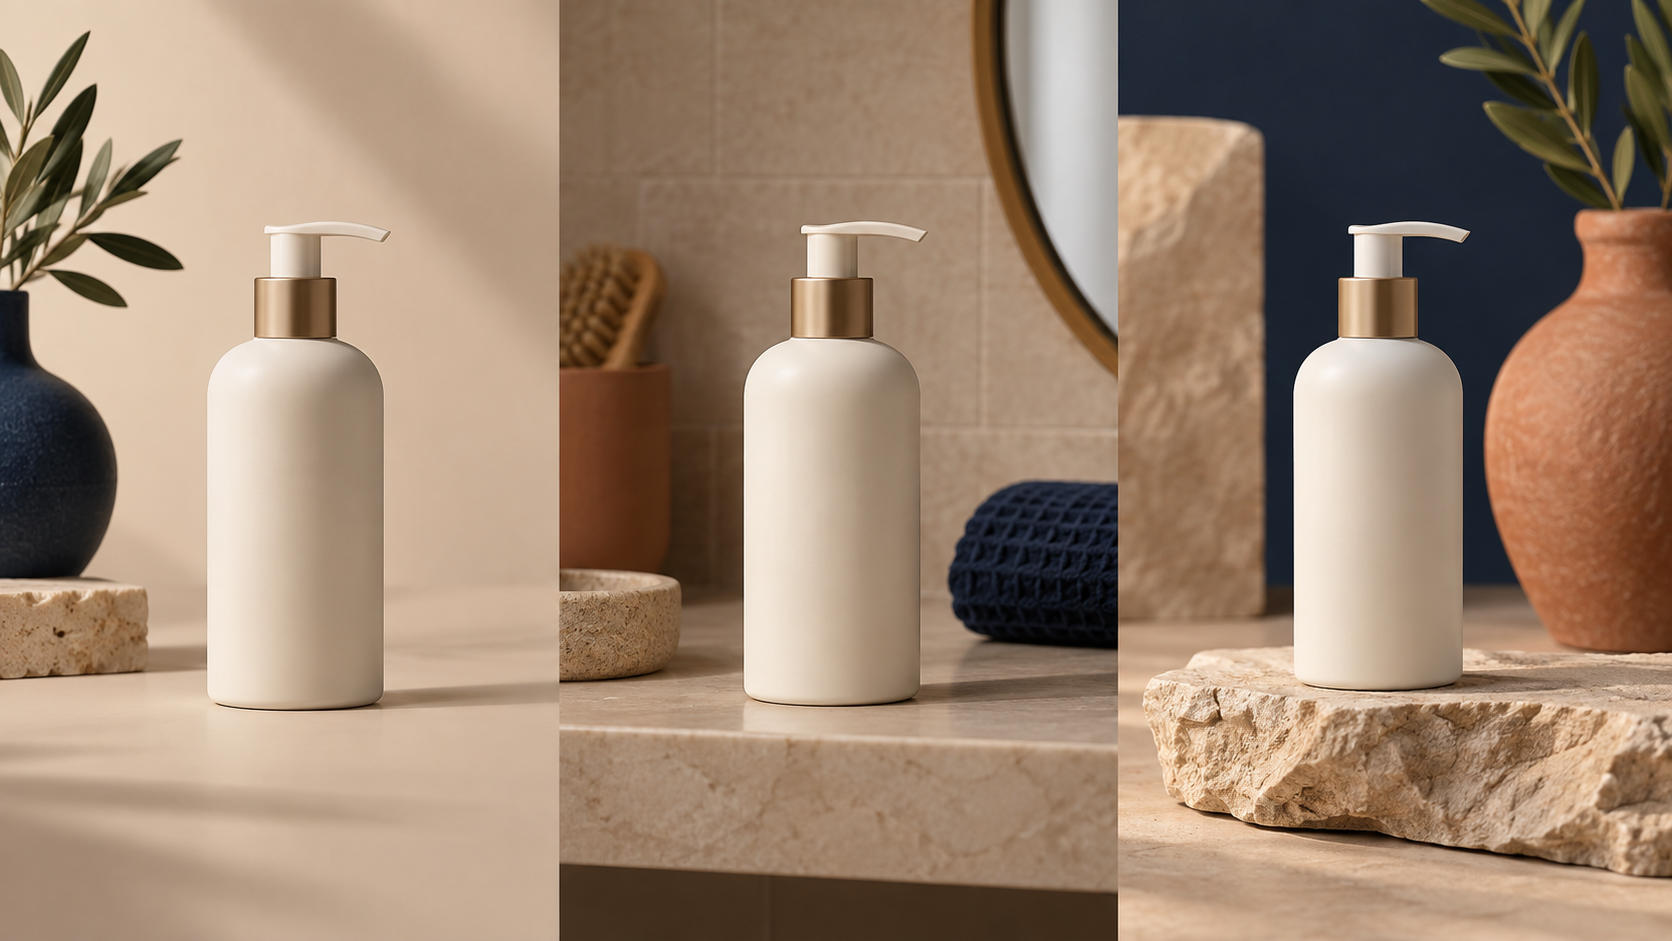
For a practical reference point, compare a new shot list with my first AI lifestyle photo test for a Shopify product. The goal is not to create the maximum number of images. It is to learn which context makes the product easier to understand and then carry that direction into the rest of the set.
Make the list work beyond the product page
A good shot list saves you from rebuilding creative later. When you plan the five roles above, add one note about where each image can travel next. The clean hero can support collection pages. The detail proof can become an email crop. The lifestyle image can introduce a launch post. The campaign variation can become the starting frame for a short video.
If video is part of the launch, this guide to creating an editable AI product video is a useful follow-on: start from your strongest approved product image instead of making a separate, disconnected concept. For paid creative, pair your image roles with a Shopify UGC creative testing matrix so you change one angle at a time and can see what actually earns attention.
The same discipline helps content too. If you are building launch articles alongside the product page, automating Shopify blog content without losing the human touch shows how to keep an approval step in the workflow. Your visual brief, product description, and editorial voice should reinforce one another.
Run a final five-minute review
Before publishing, open the product page on a phone and ask five quick questions:
1. Can I identify the product in the first second?
2. Can I tell its scale, material, or fit without reading every word?
3. Do the supporting images add information rather than repeat the hero?
4. Does the product itself look consistent from image to image?
5. Does each crop still work where I plan to reuse it?
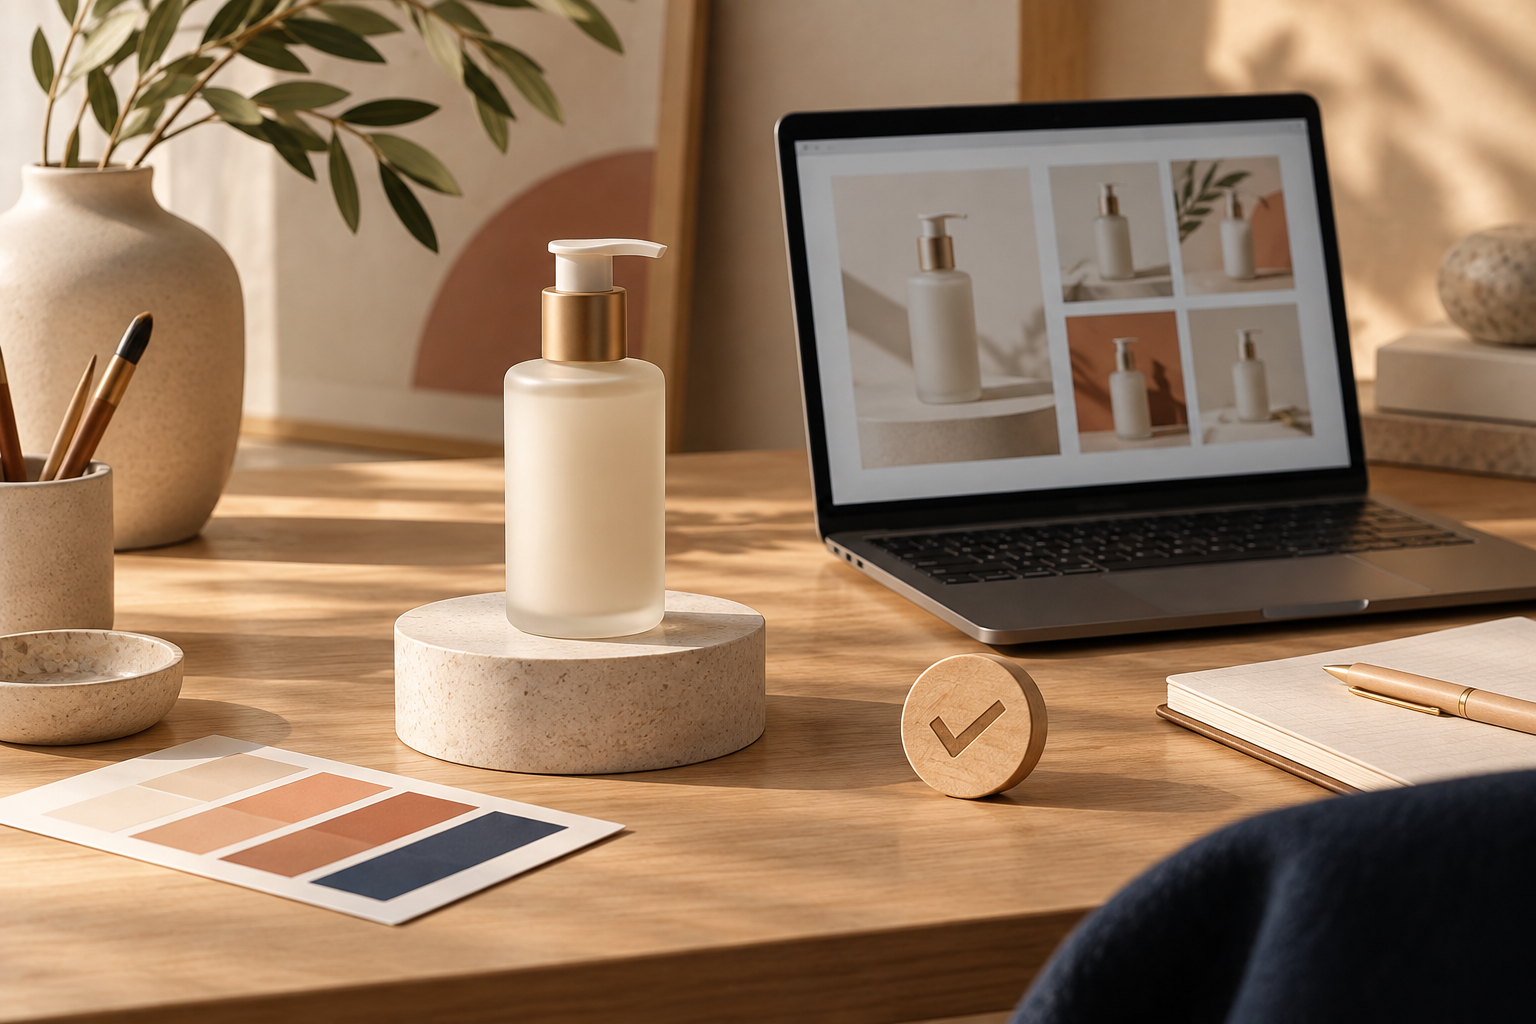
If an image only looks good in isolation, it may not deserve a launch slot. Keep the set focused, then add seasonal or experimental creative after you know the core page is doing its job.
Your next step
Pick one product you plan to promote this week and write the five roles before editing a single image. Then use Supra AI Photo Studio to turn the best source photo into the clean hero, proof, context, and campaign variations your launch needs. A small, intentional set will usually outperform a large gallery that leaves shoppers guessing.
Comments
Post a Comment